There’s a plenty of pre-made tracks in the RaceChrono track library, but even that is not enough when the track is brand new, or you need to time a rally or an enduro stage. RaceChrono is in no way limited to library tracks only, as you can create your own custom tracks (and maybe submit them to the library once done). Here’s the two methods for creating your own tracks.
Method A: Create custom track after running couple of laps
This is the safest and most reliable way to create a custom track.
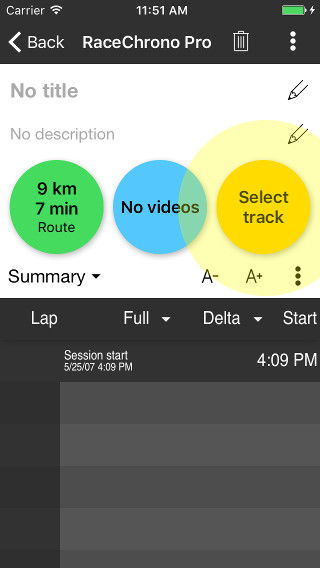
- Start recording a session normally, but do not select a track, drive a couple of laps, and stop recording when you’re back at the pits.
- Open your session, tap the ‘Select track’ button.
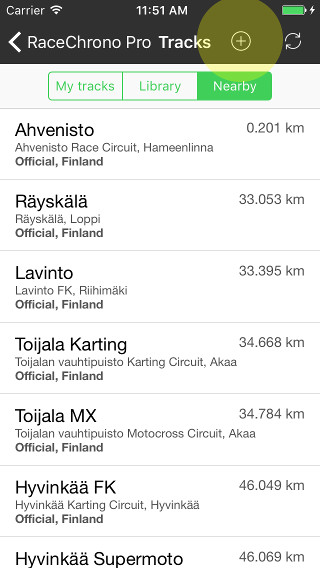
- Then in the track list, tap the ‘New track’ -button (one with the plus icon).
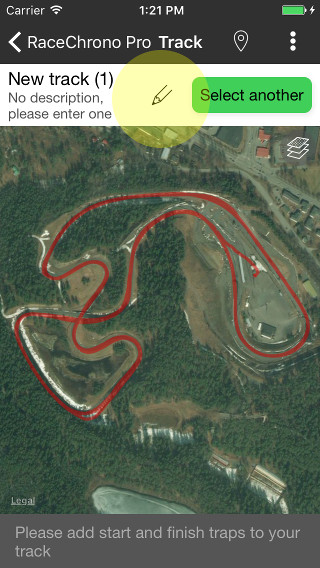
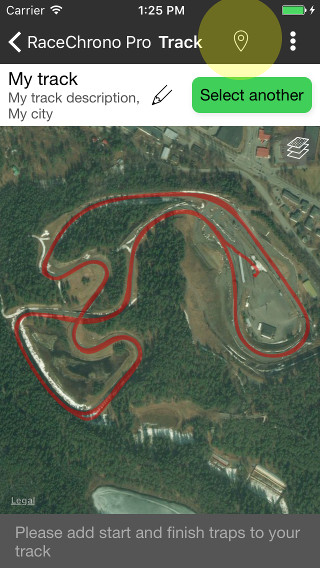
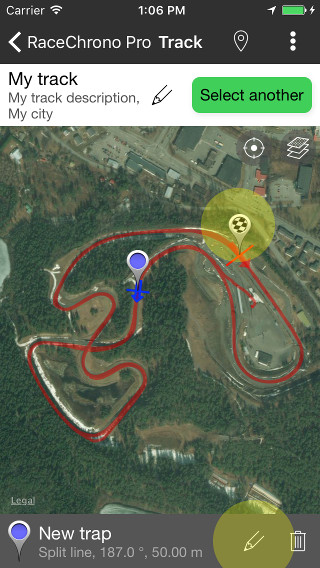
- Now your session has an empty track, called ‘New track’. To edit it, tap the track button once more.

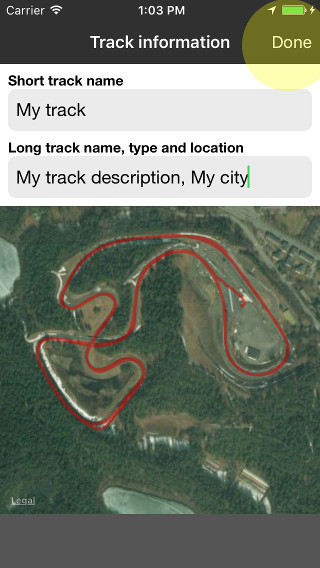
- Tap the edit button on top of the screen, to edit the track name and description. Tap done the track information is perfect.
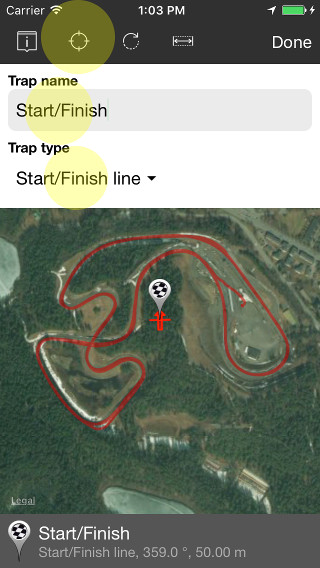
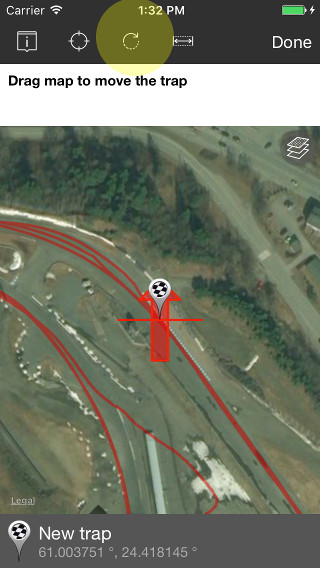
- Next, tap the ‘Add trap’ button (map marker icon). Add a proper name for the trap, and select the type. Usually your first is with the type Start/Finish which ends your previous lap, and starts a new one. You can also have separate Start and Finish traps for point-to-point racing. Then press the ‘Move’ button (crosshair icon).
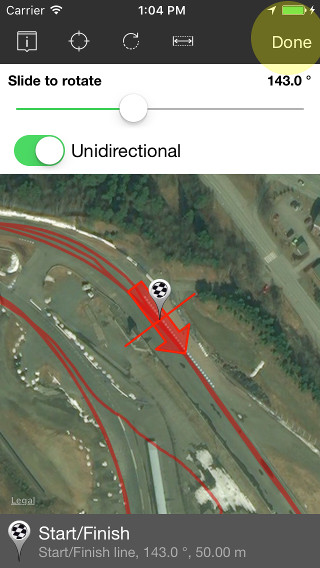
- Tap the ‘Rotate’ button, and rotate your trap so the arrow is pointing to the direction you’re supposed to pass the trap. You can set the trap as bi-directional, but usually this is not recommended. You can also scale the trap width, the default width is 50 meters which is usually good for normal full size racing circuit.
- Now you have added a trap to your track. You can add more following the previous steps, or alternatively edit a trap by tapping first the trap marker, and then ‘Edit trap’ button (pen icon). Now exit the track editor, and your session laps will be recalculated according the new track.

Method B: Create custom track while being passenger
For this method you need a passenger to create your traps. Do NOT use your phone when driving or riding, that should be common sense!
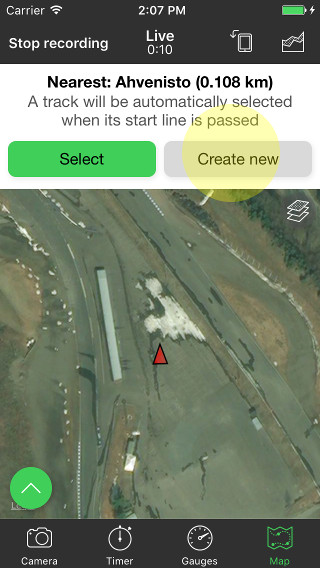
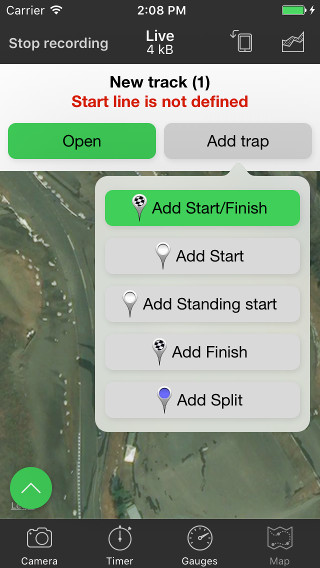
- Start recording a session, switch to the ‘Map’ page and tap the ‘Create new’ button on top of the screen. Then tap the ‘Add trap’ button, and select the trap type you want to add. When the trap type button is pressed, the trap will be added to the current GPS location and heading.
- After recording your session, you can edit the added traps just like in the Method A.