There is a new data backup feature in RaceChrono v6.0 and later. This feature allows users to backup their content quickly, and also easy data transfer to new phone.
Creating a backup
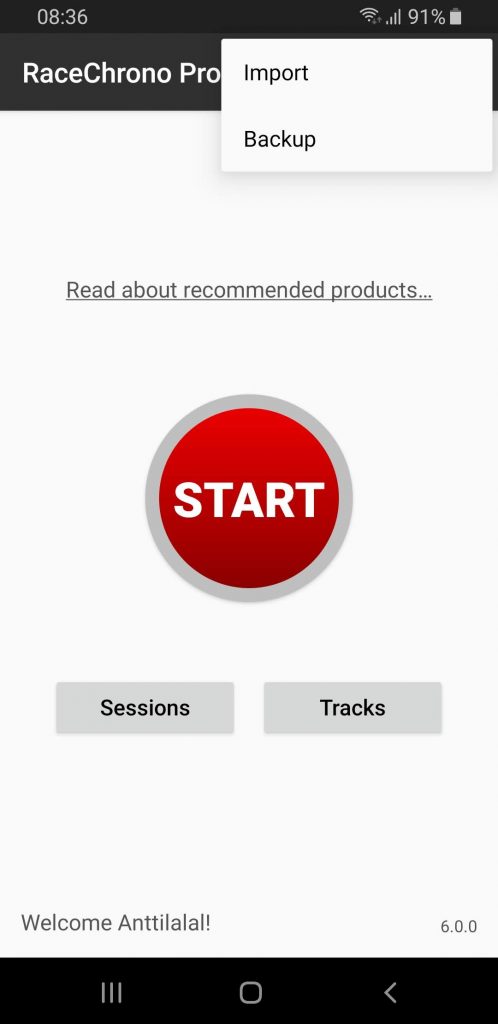
Backup screen can be opened from the ‘Backup’ item in the toolbar menu on the main screen.

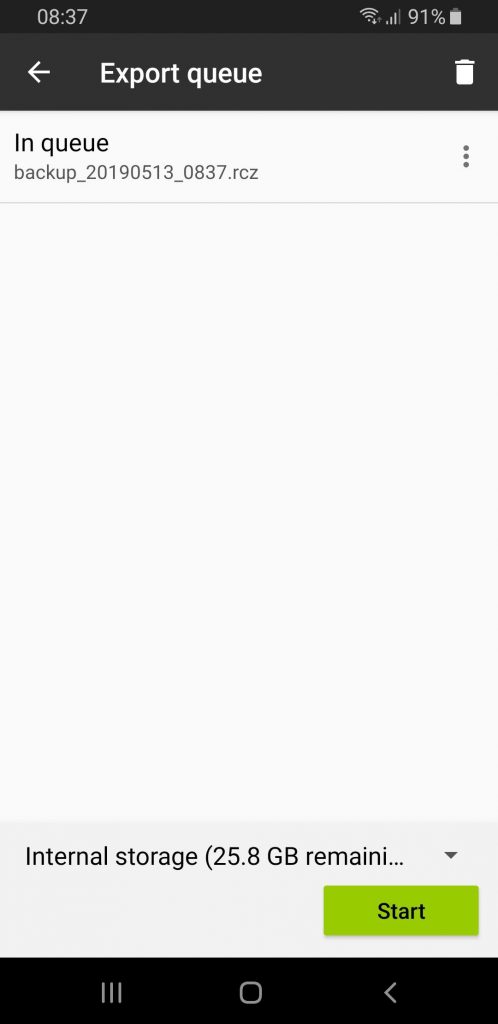
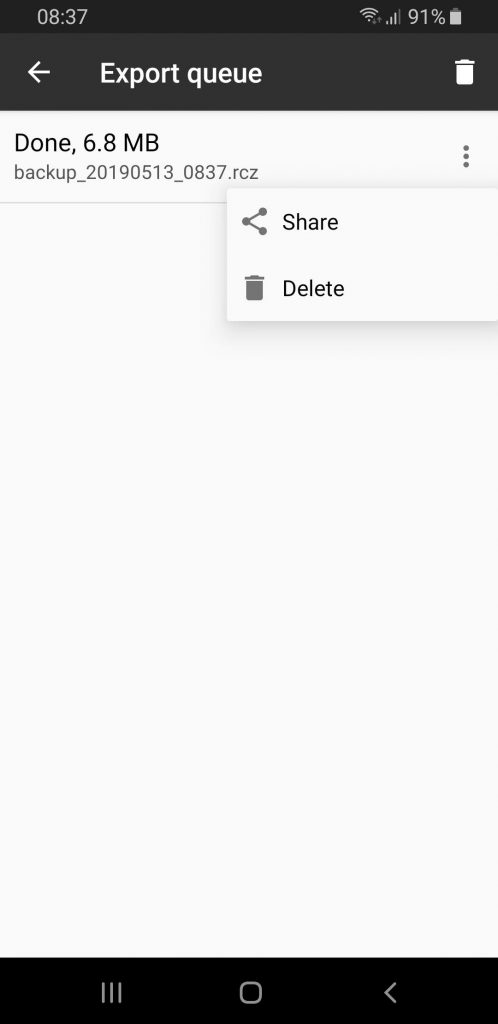
The backup screen has simply one button that adds the backup task to Export queue. The Start button on the Export queue screen starts the backup process. The backup takes roughly quarter of the size of your sessions, excluding the linked video files. The backup will contain your session data, tracks and vehicle profiles. Notice: The backup feature does not backup your video files due to their large size.

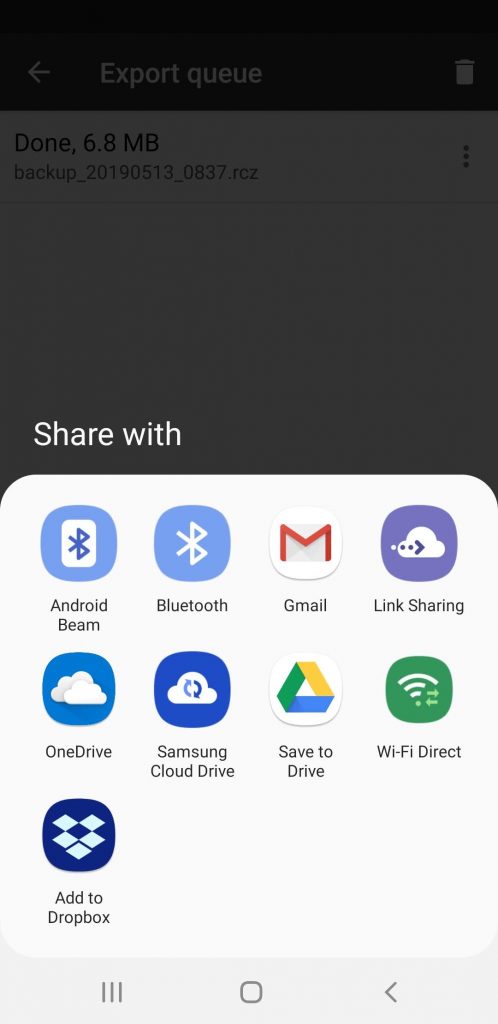
Once the export process is complete, you should upload the backup file to somewhere. It’s probably a good idea to create a folder in Google Drive or Apple iCloud and upload the backups there.
Restoring a backup
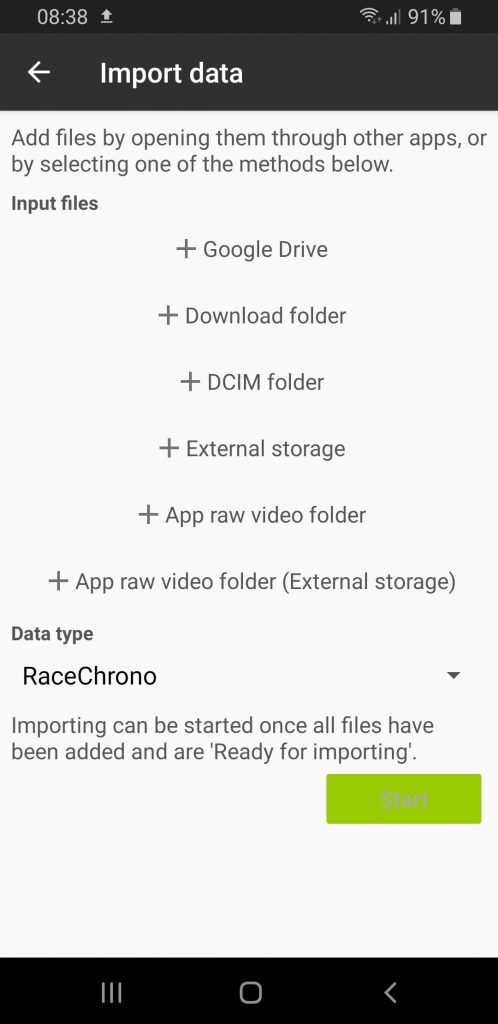
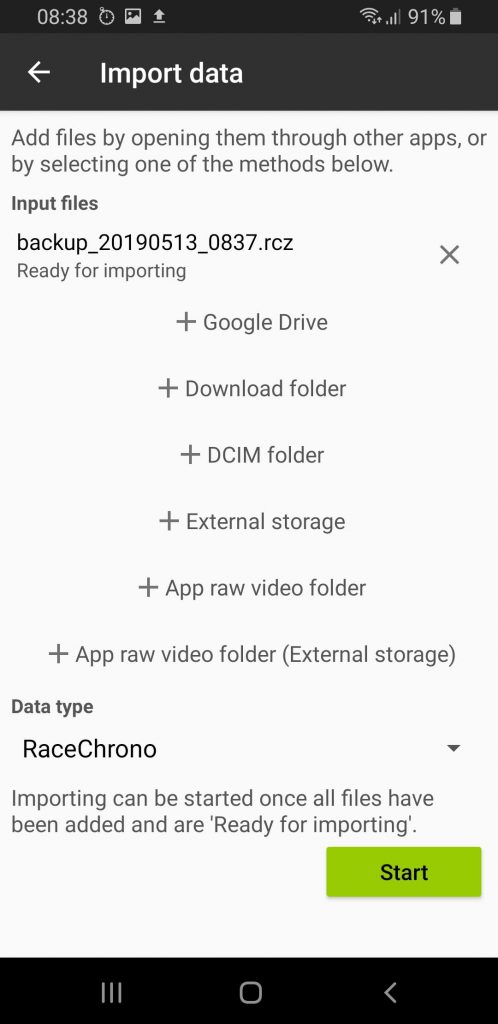
The main screen menu, that launched the Backup screen in the previous chapter, also has ‘Import’ item which opens Import screen. In addition to importing data from other formants, the Import screen can also be used to restore the backups. The Import screen lists the available data sources. Select one and load the backup file you want to restore. Tap the ‘Start’ once the backup file has loaded, and your data will be restored. Notice: Restoring a backup will not overwrite sessions, tracks or vehicle profiles that already exists in the app. Beware that you might end up with some duplicates when importing a backup from an another device.
Transferring data to a new phone (or upgrading to RaceChrono Pro app)
Transferring data is to a new device is simply just creating a backup on the old device and restoring it on the new one.
Similarly when upgrading from RaceChrono app to RaceChrono Pro on Android, to transfer your existing data, just create a backup on the RaceChrono app and restore it on RaceChrono Pro app.
Transferring (or backing up) your raw video files
Transferring your raw video files is a bit trickier as the files are usually very large. The best option is to use the “Move to Media Store” (on Android) or the “Move to Photos app” (on iOS) menu option for each file linked to your sessions. This will move the video file to the Google Photos (on Android) and to the Photos app (on iOS). The Google Photos and the Photos app will then make these video files available across your other devices through cloud sync.