
This tutorial explains how to link video files from external cameras to your session, and how to adjust the synchronisation of already linked video files.
Step 1: Copy the video files over your
First thing you need to do is to copy your video files over to your phone or tablet. Go to the separate tutorial for instructions. If you’re just looking to adjust the synchronisation of already linked video files then you can skip this step.
Step 2: Select the video file to link or adjust sync
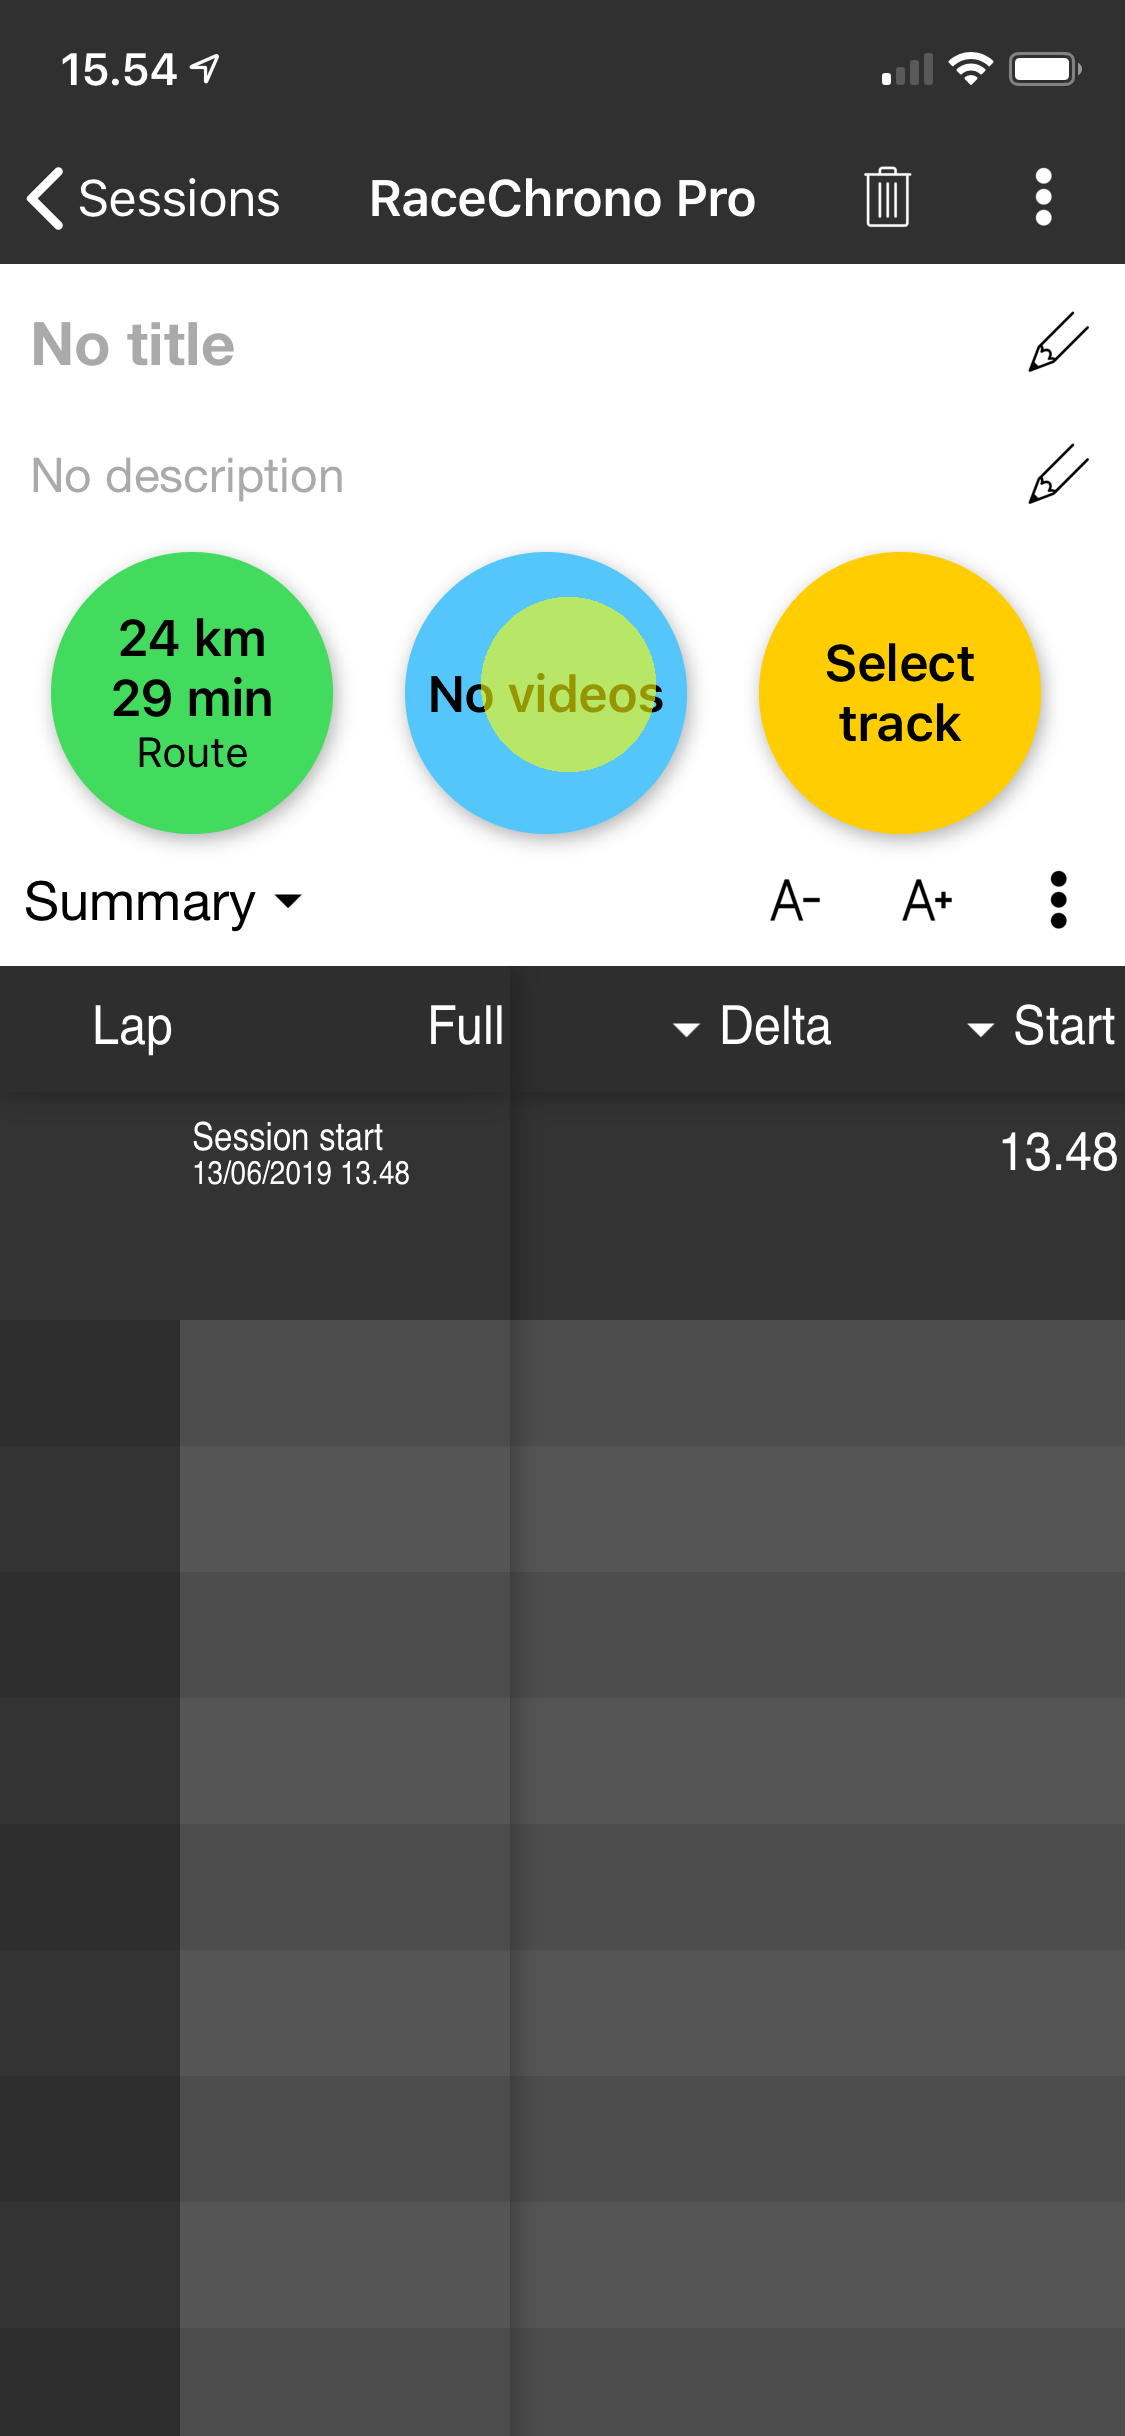
Next, open the Video list screen by tapping the round light blue button on your Session overview screen.
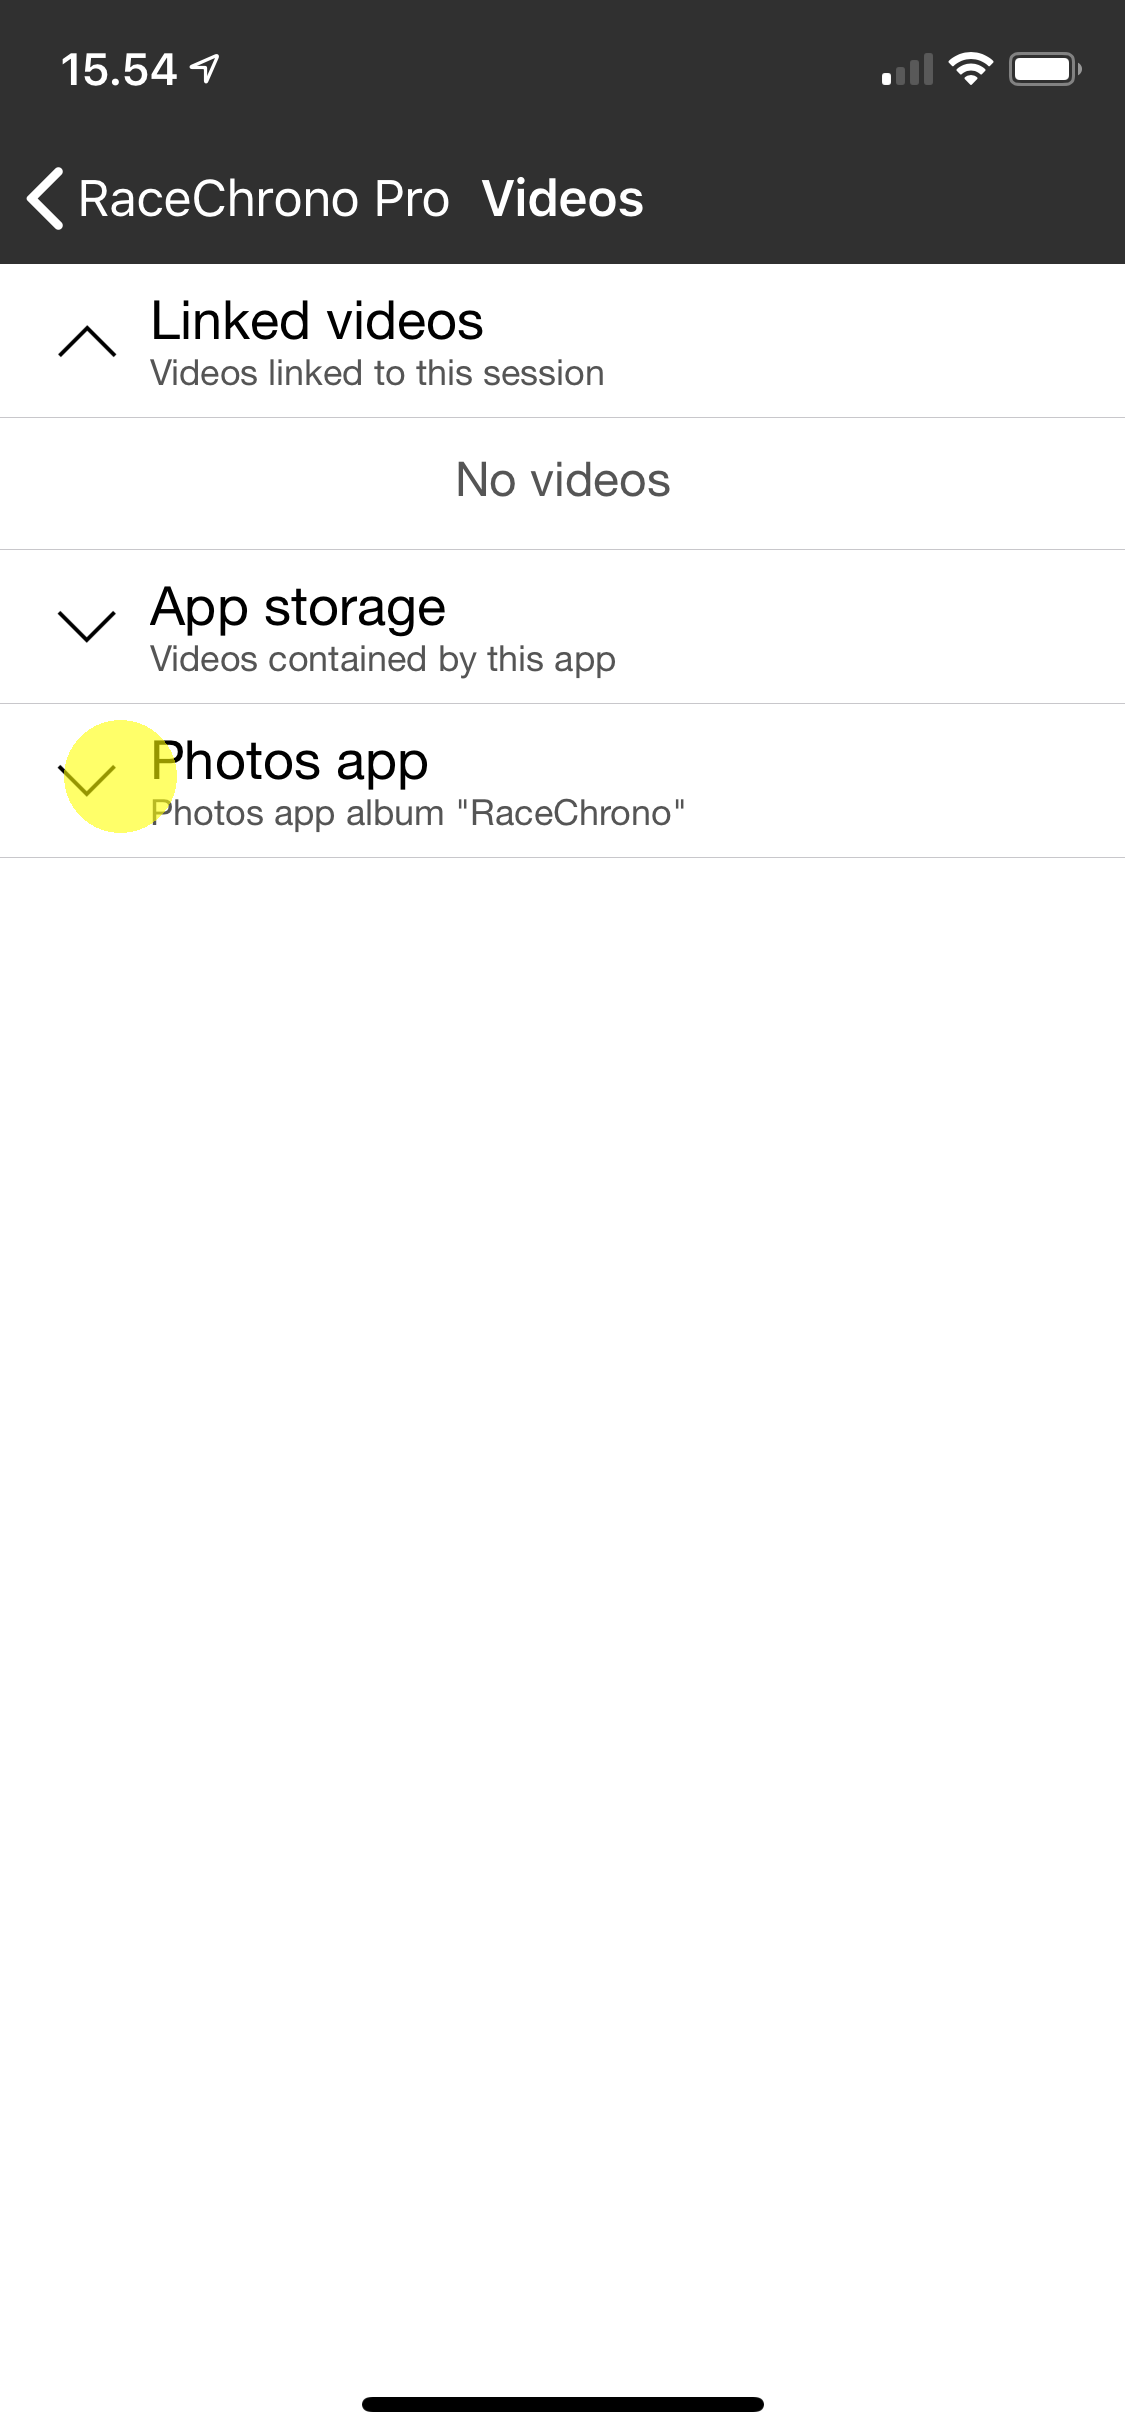
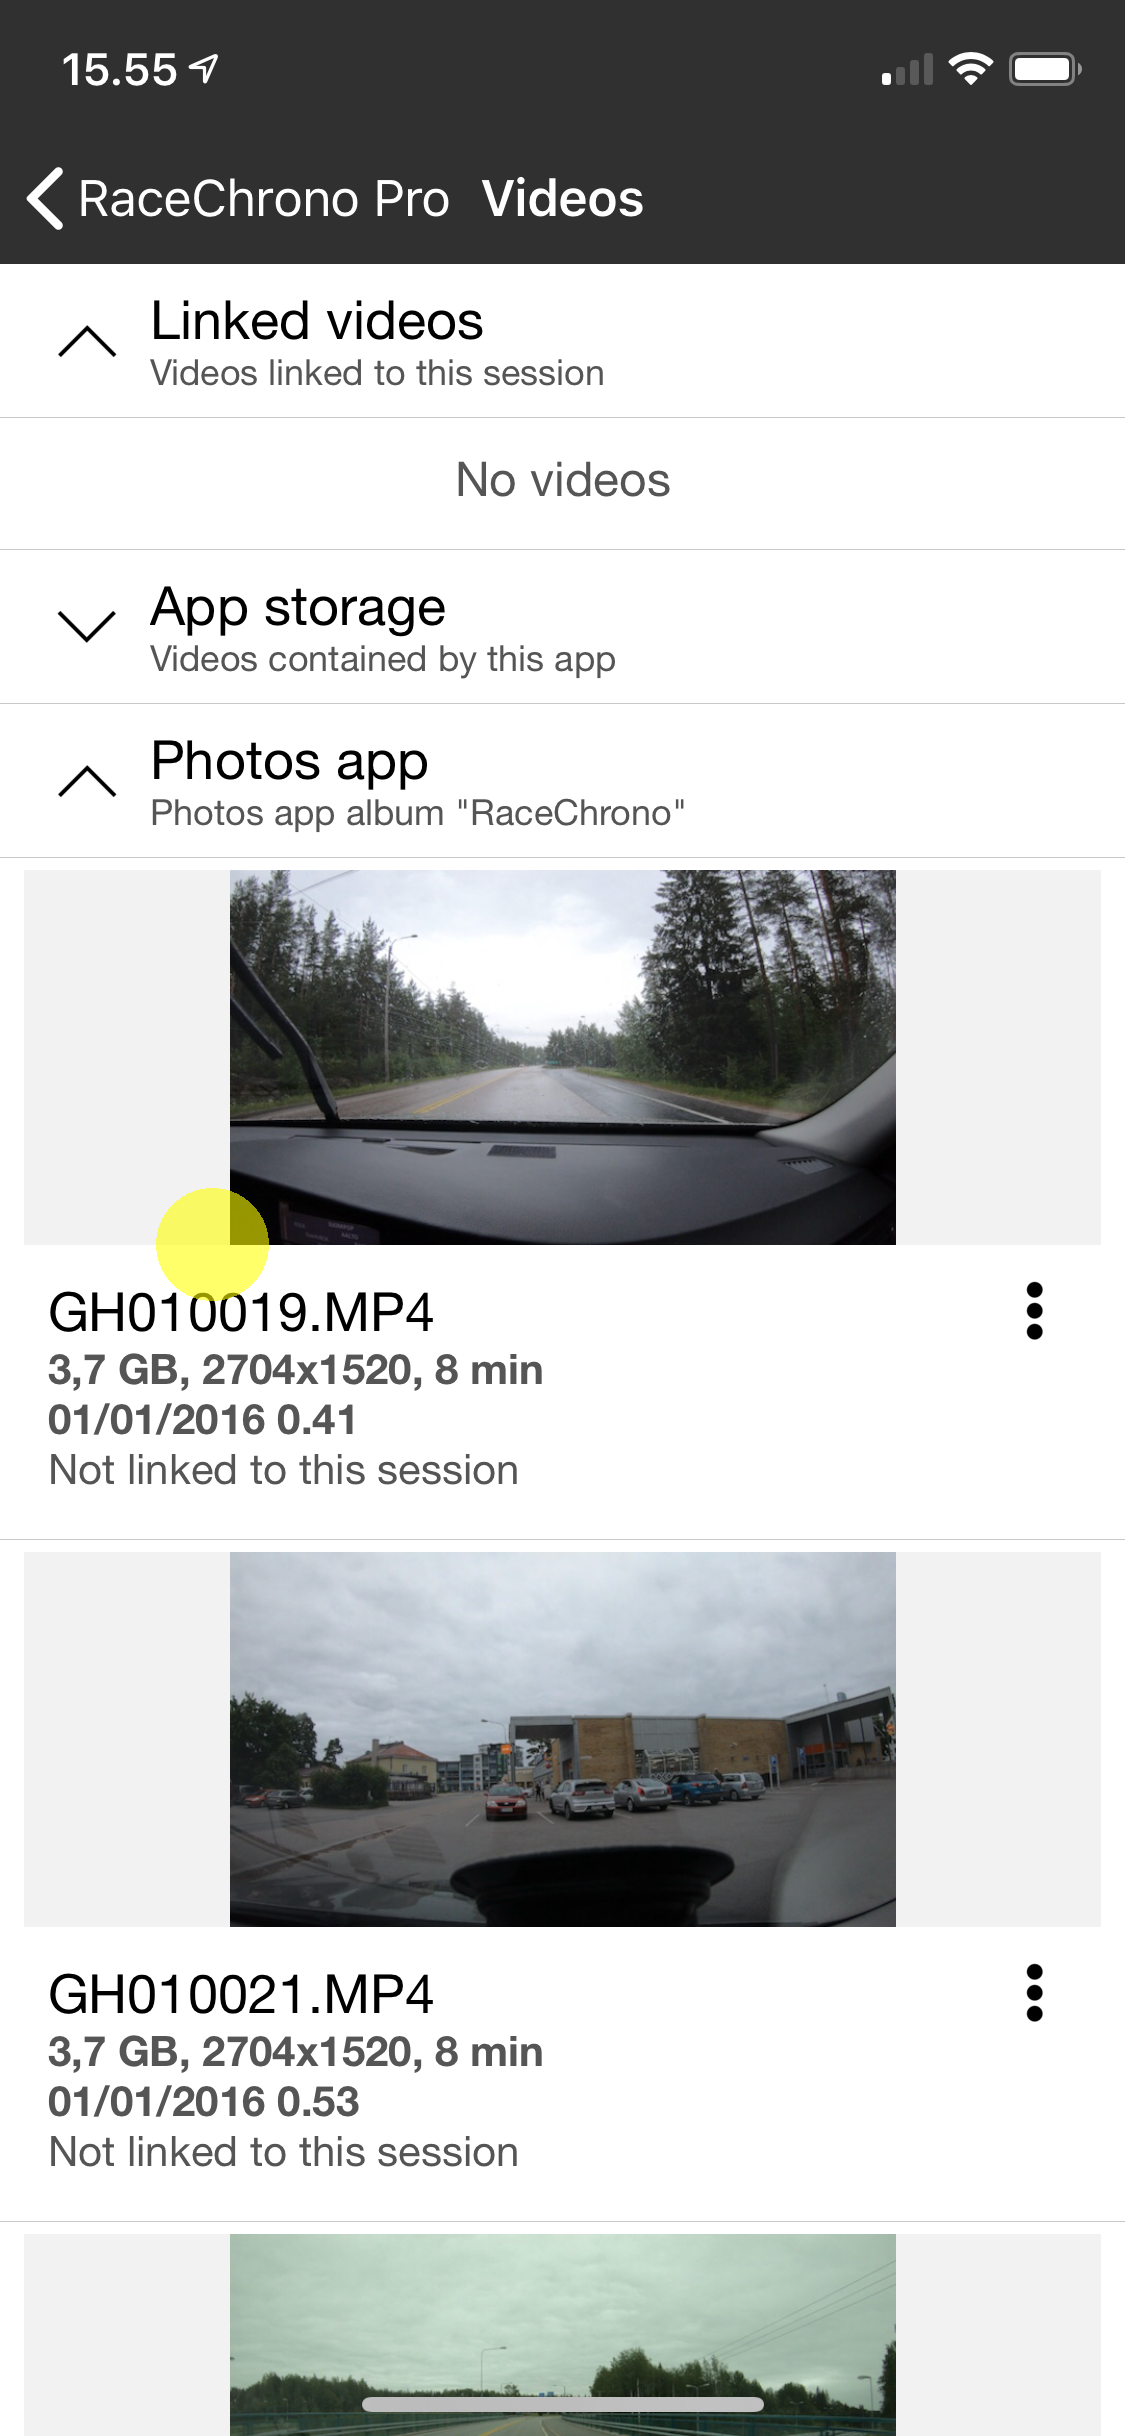
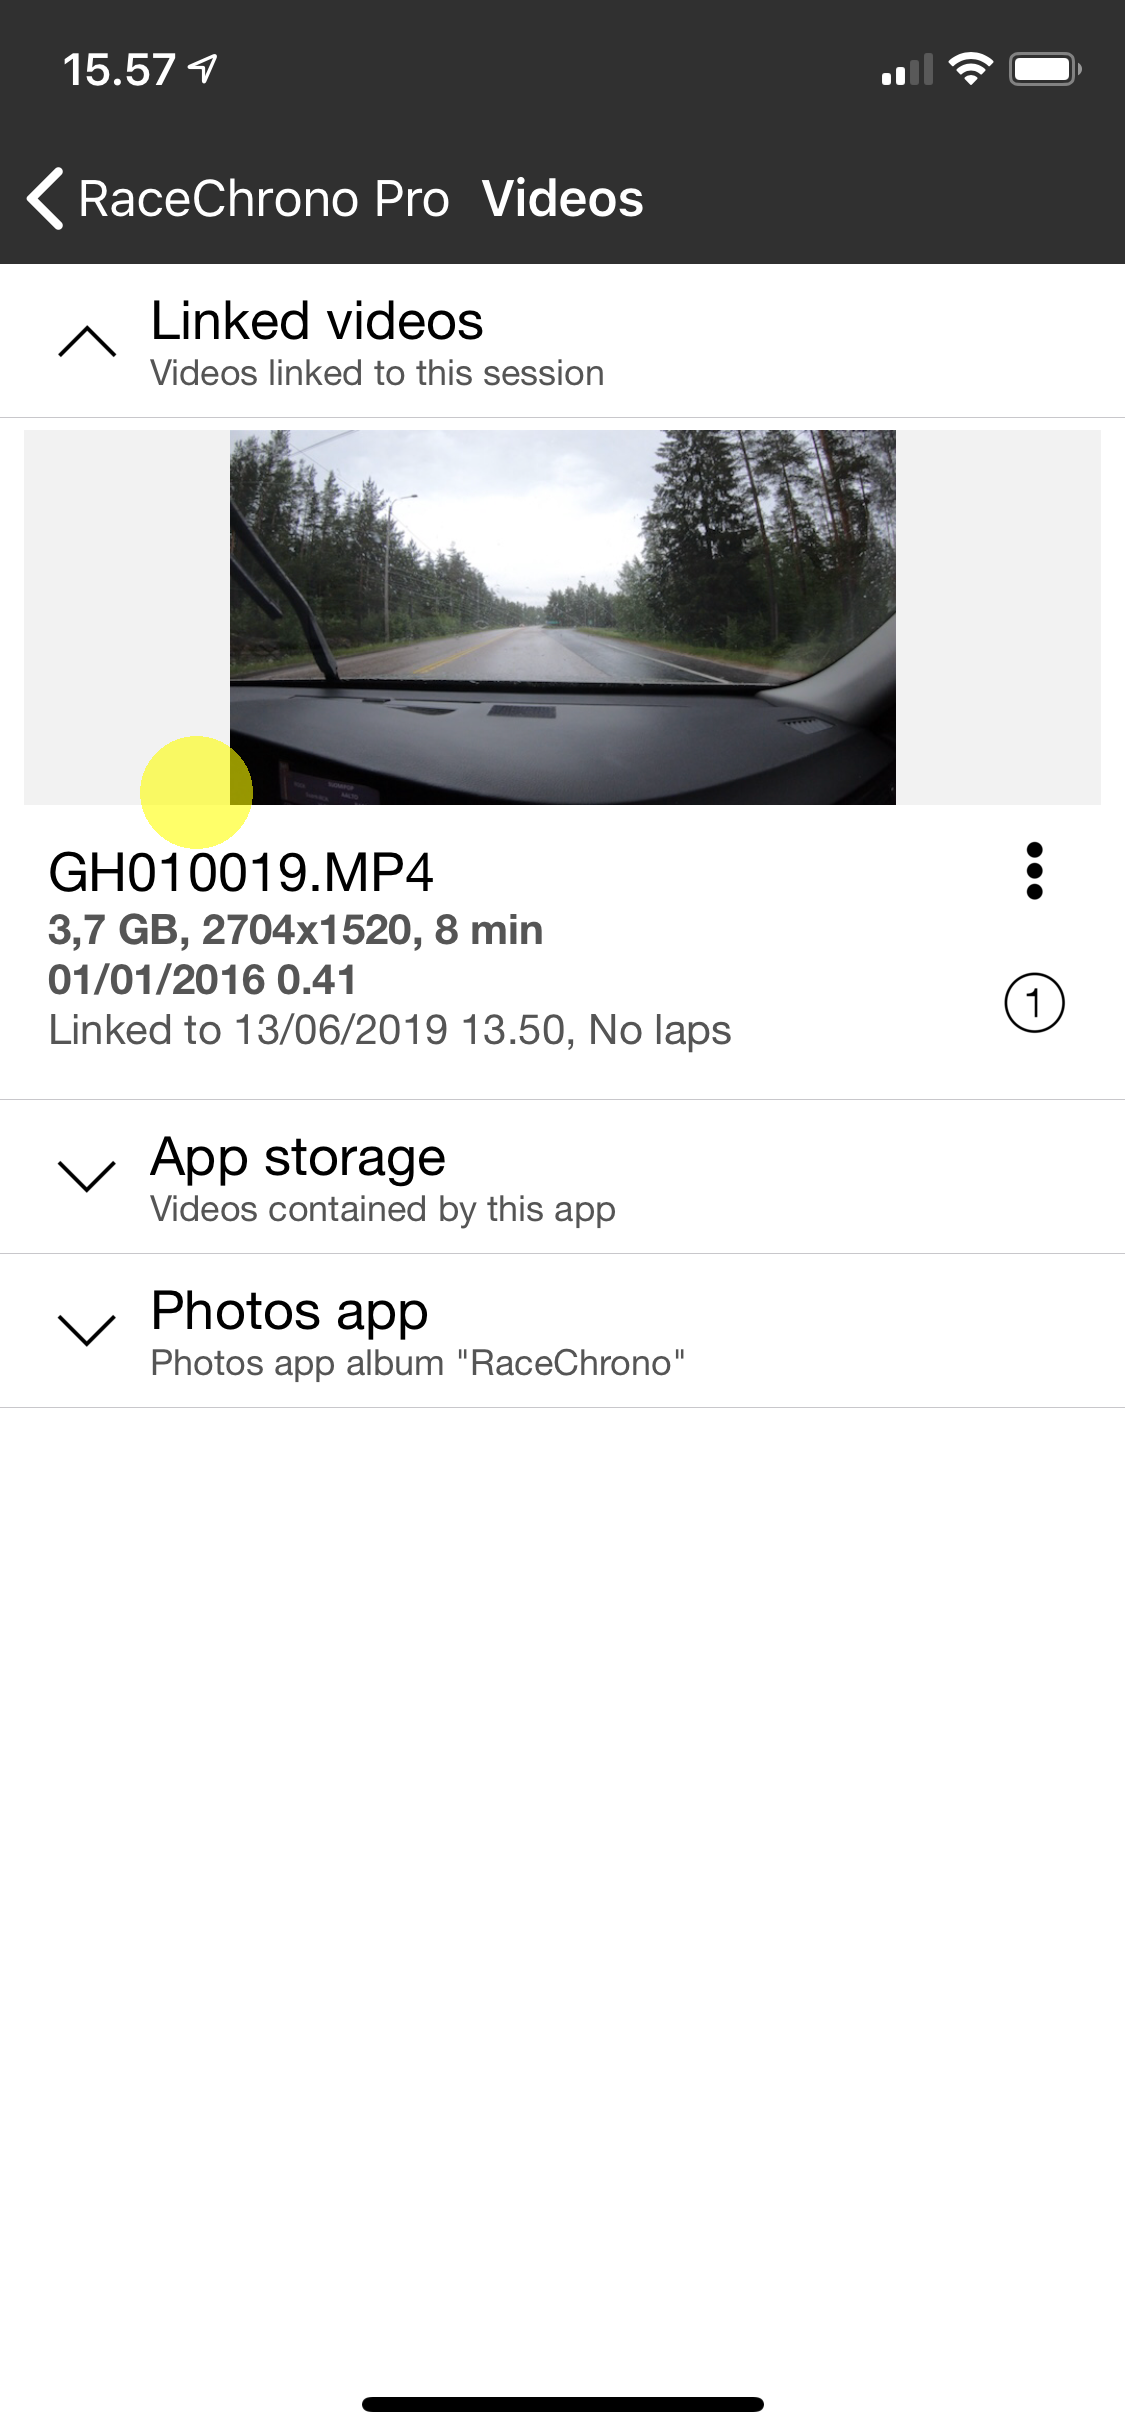
On iPhone and iPad, the video files copied over to your phone in step 1 will appear to the “Photos app” folder. On Android devices the copied videos will appear to “Internal storage” and/or “External storage” folder. Select the video file you want to link to your session. If you’re looking to adjust synchronisation of an existing video file, then select the video file from the “Linked videos” folder instead.
Step 3: Synchronise the video file
Selecting a video file in step 2 will open the Analysis screen. Compared to “normal” analysis screen, this screen has an extra “Link” button in the video controls.
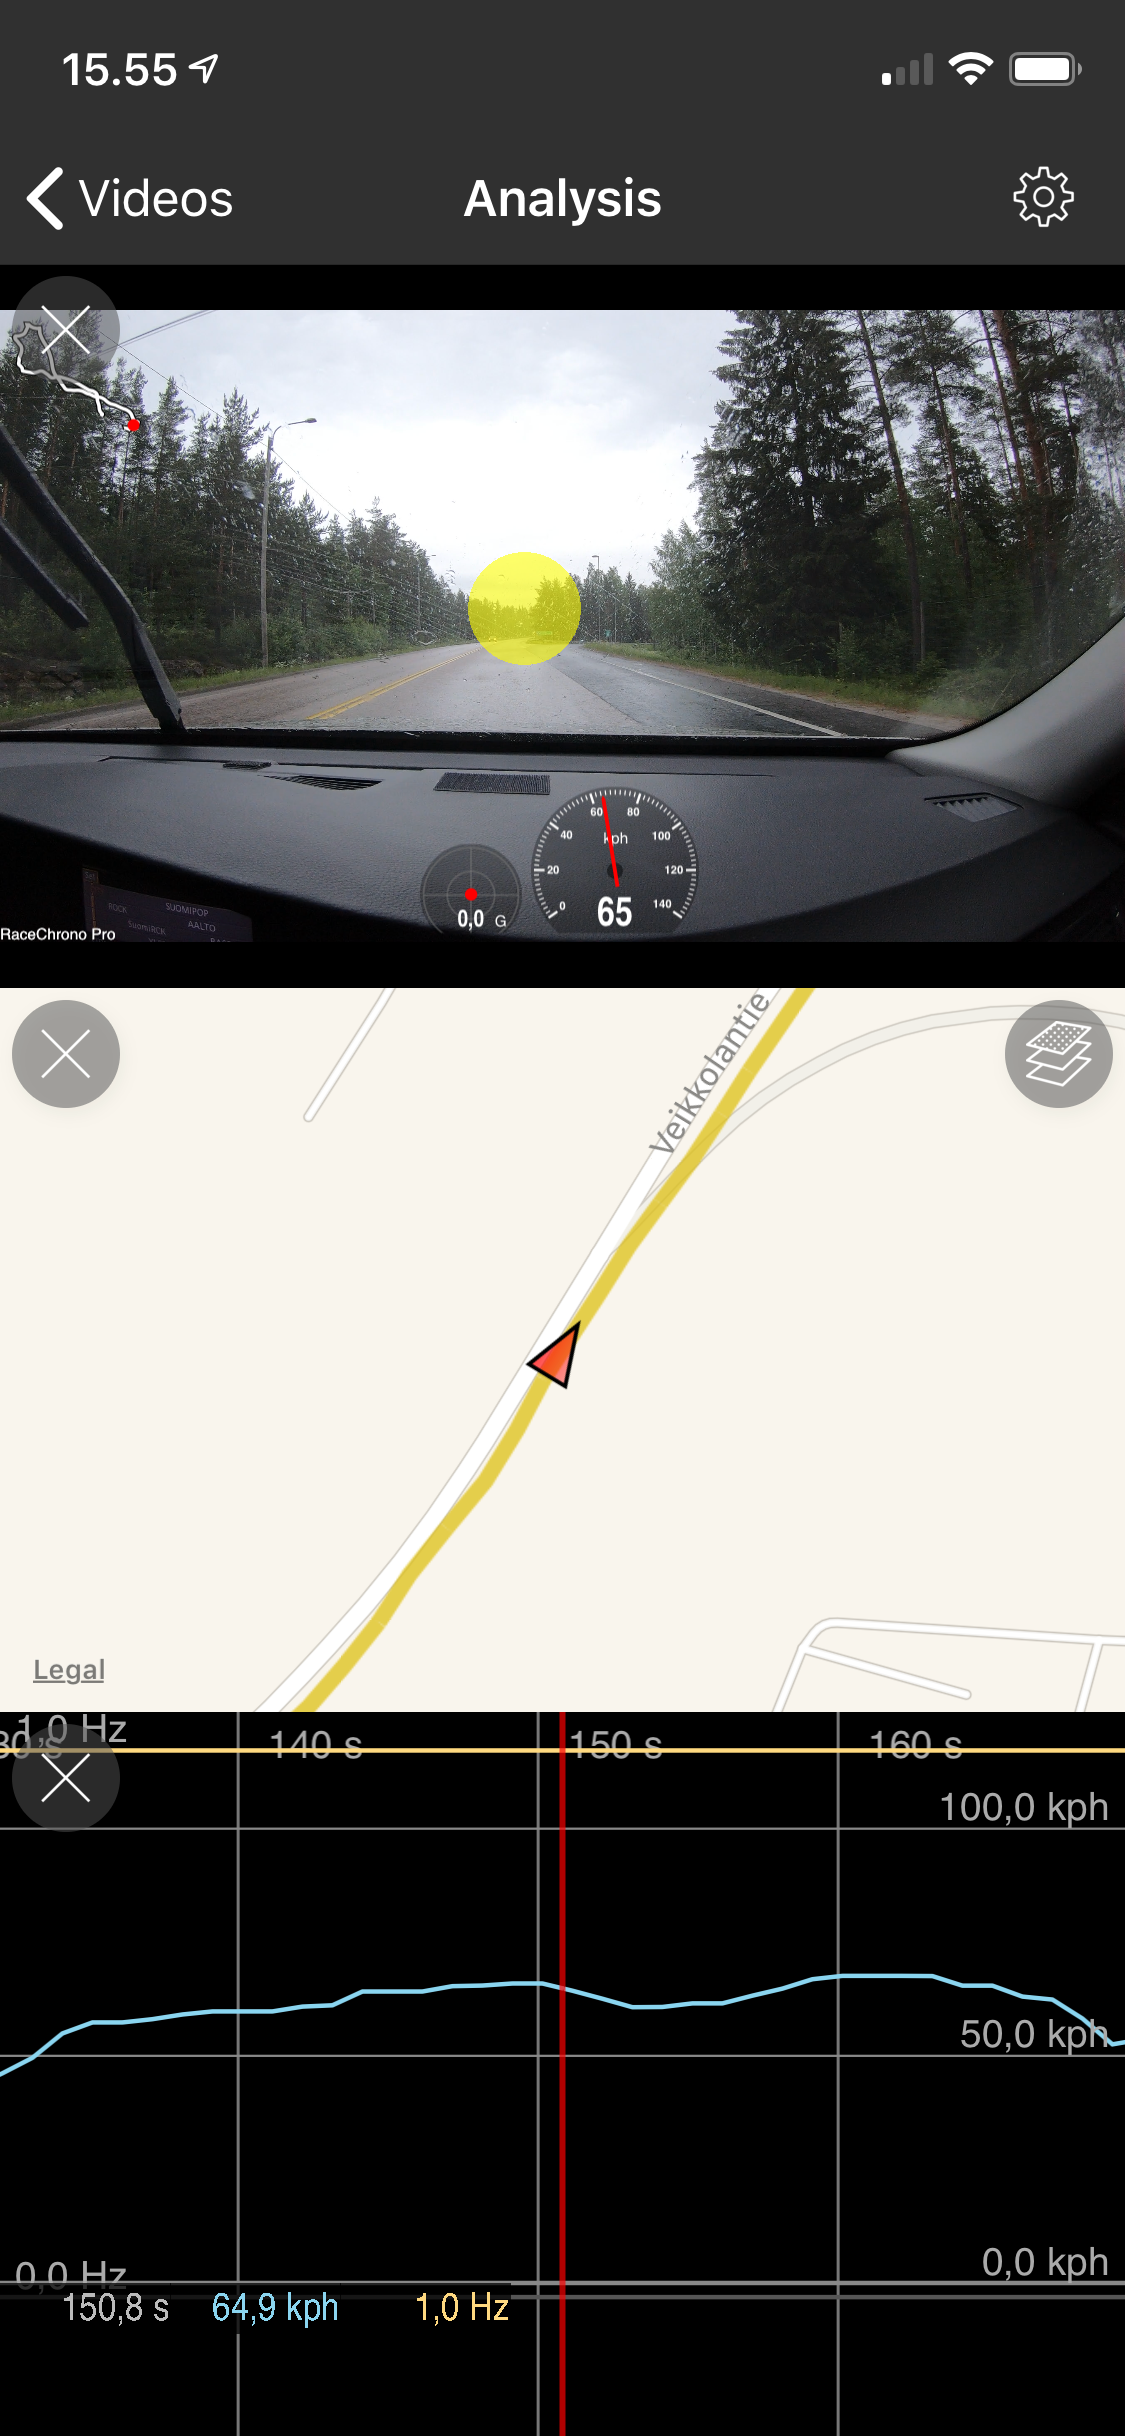
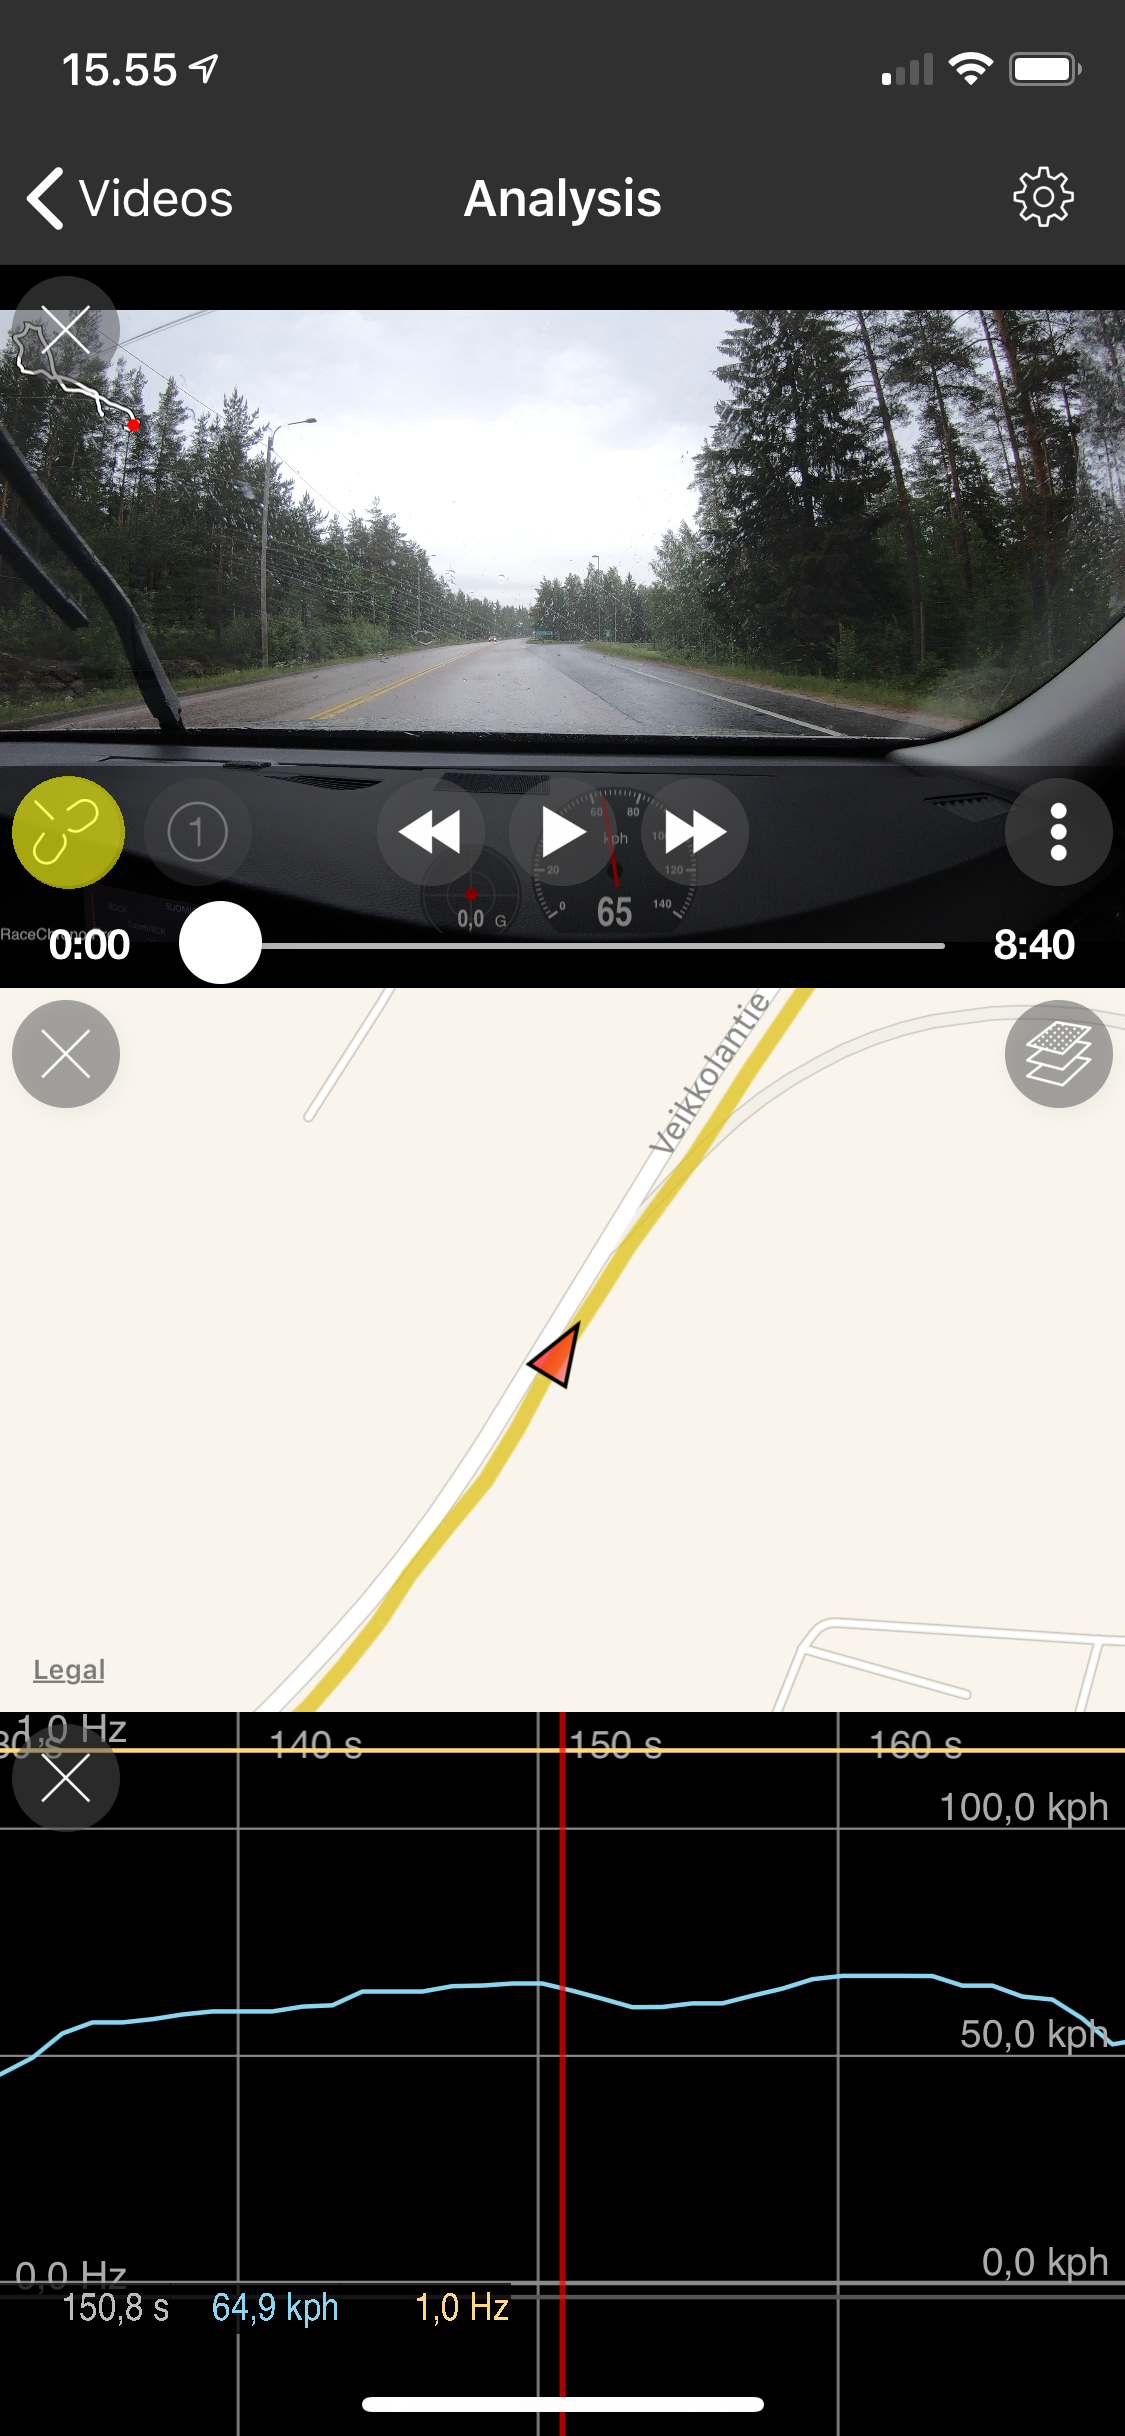
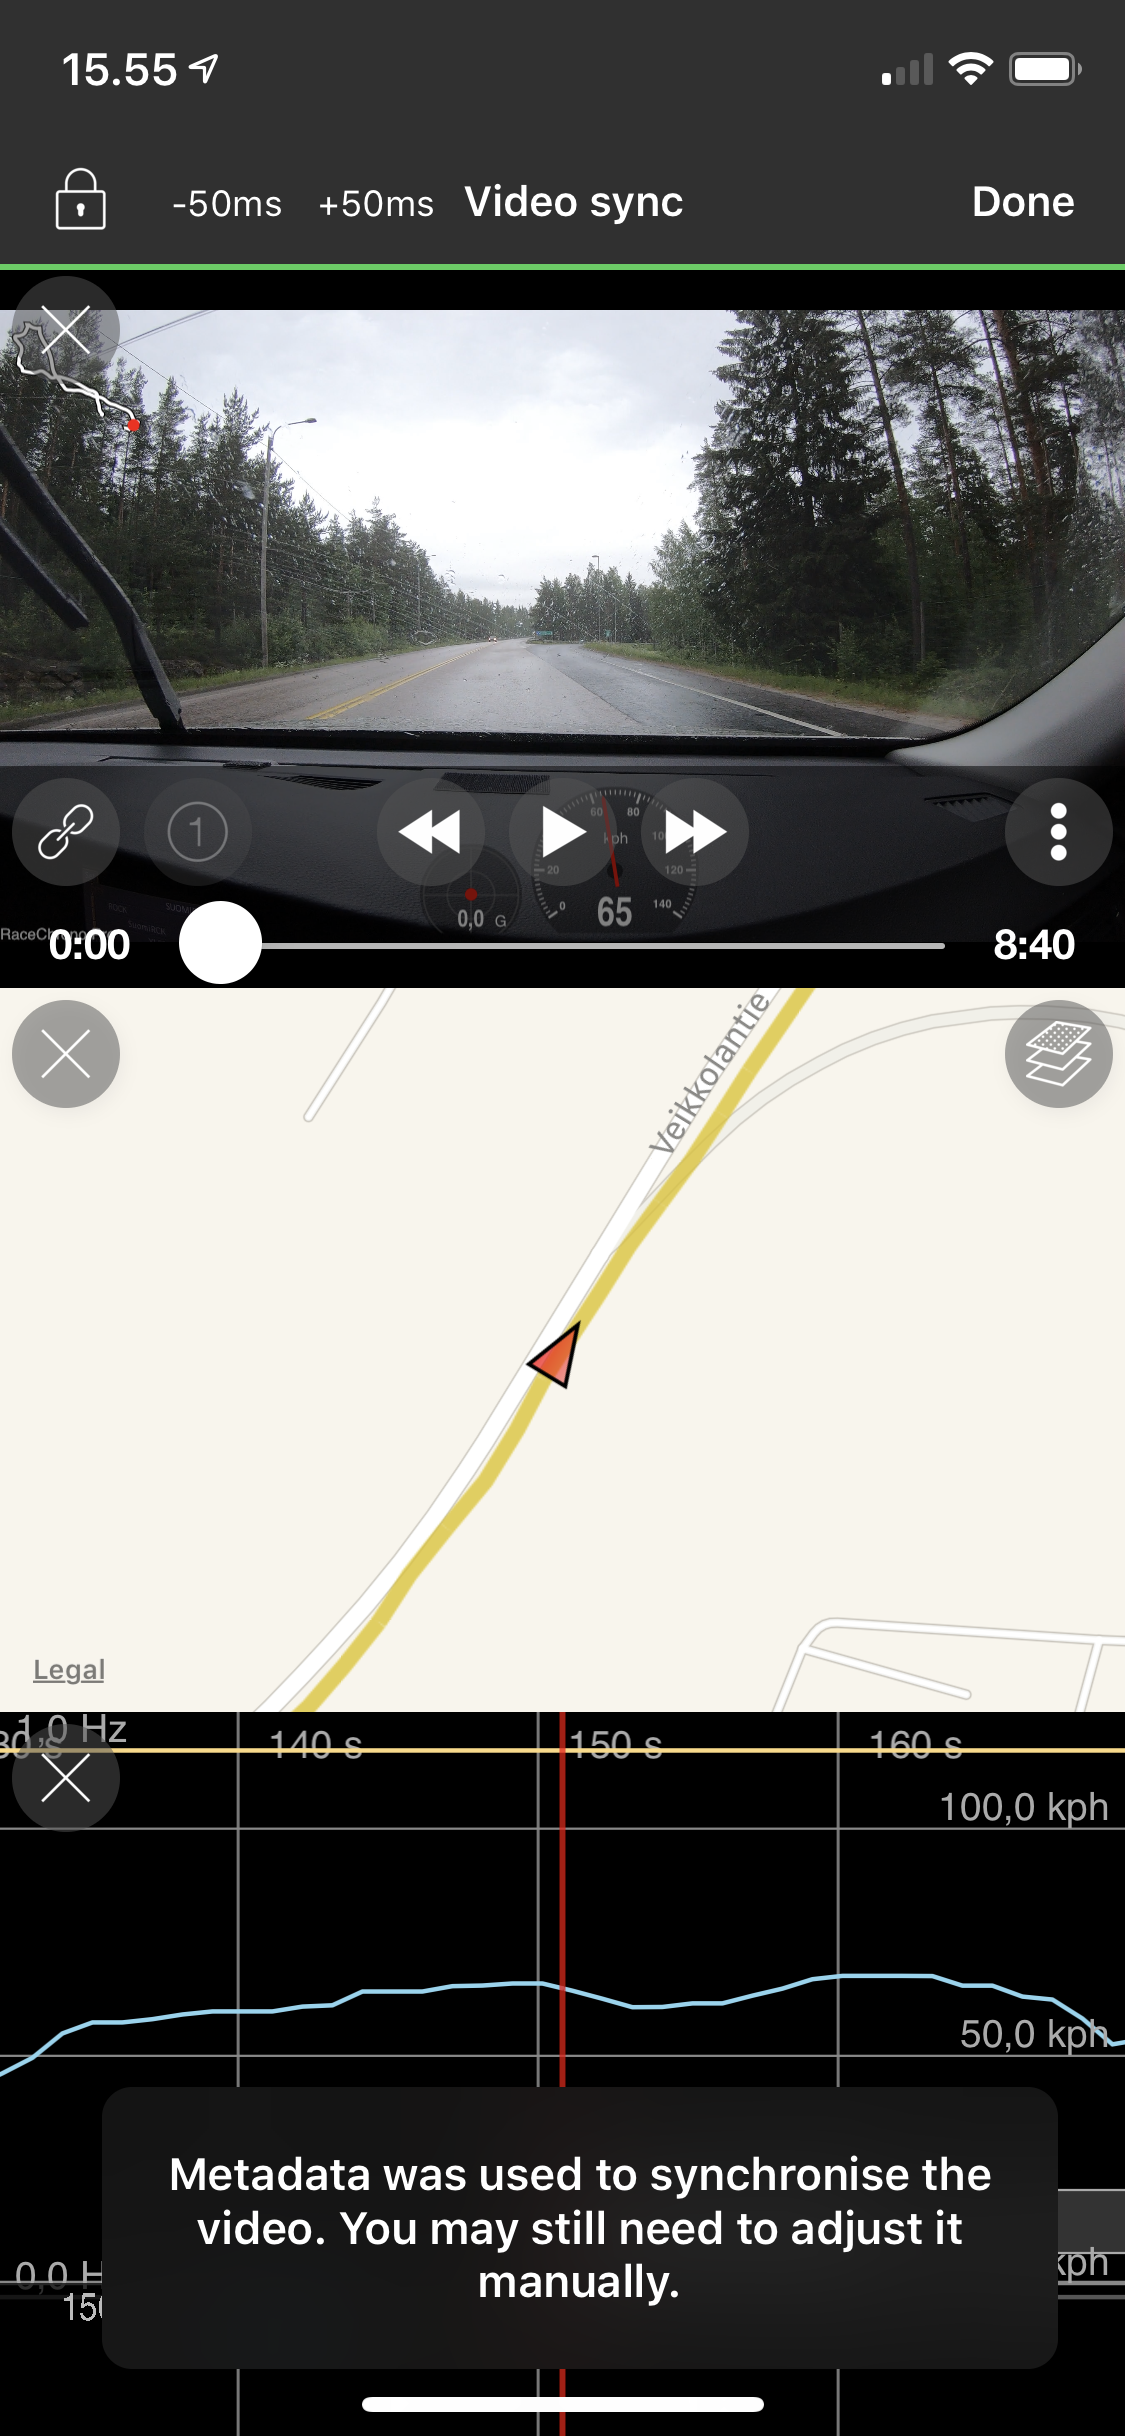
Synchronisation tools will open by tapping the “Link” button. The tools will look slightly different depending if the synchronisation is locked (file is linked) or unlocked (file is unlinked). You can change the locked/unlocked status by pressing the button with the lock symbol.
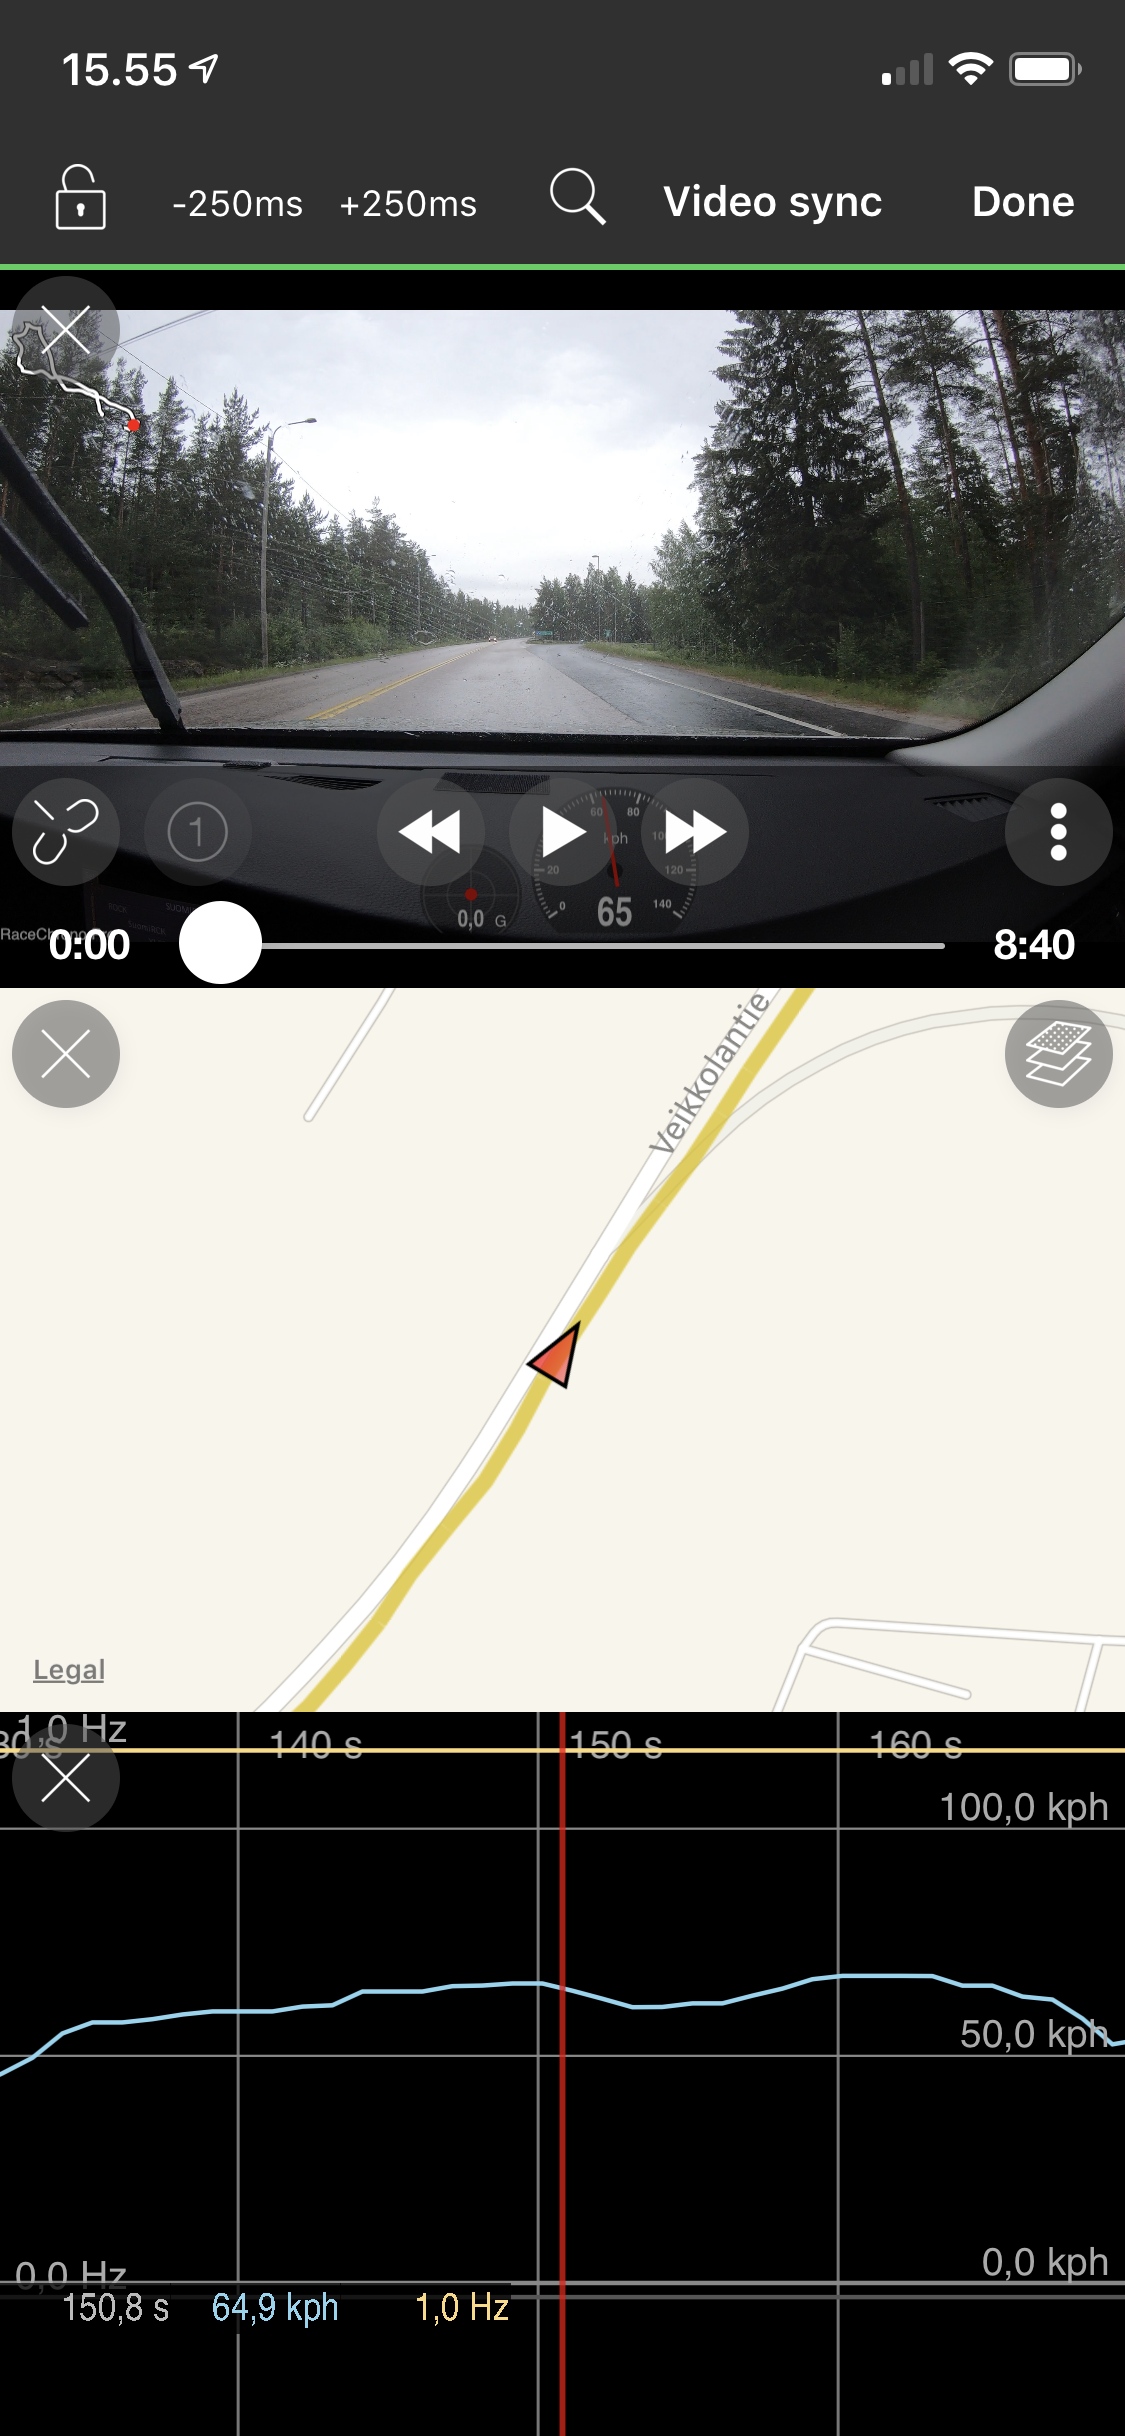
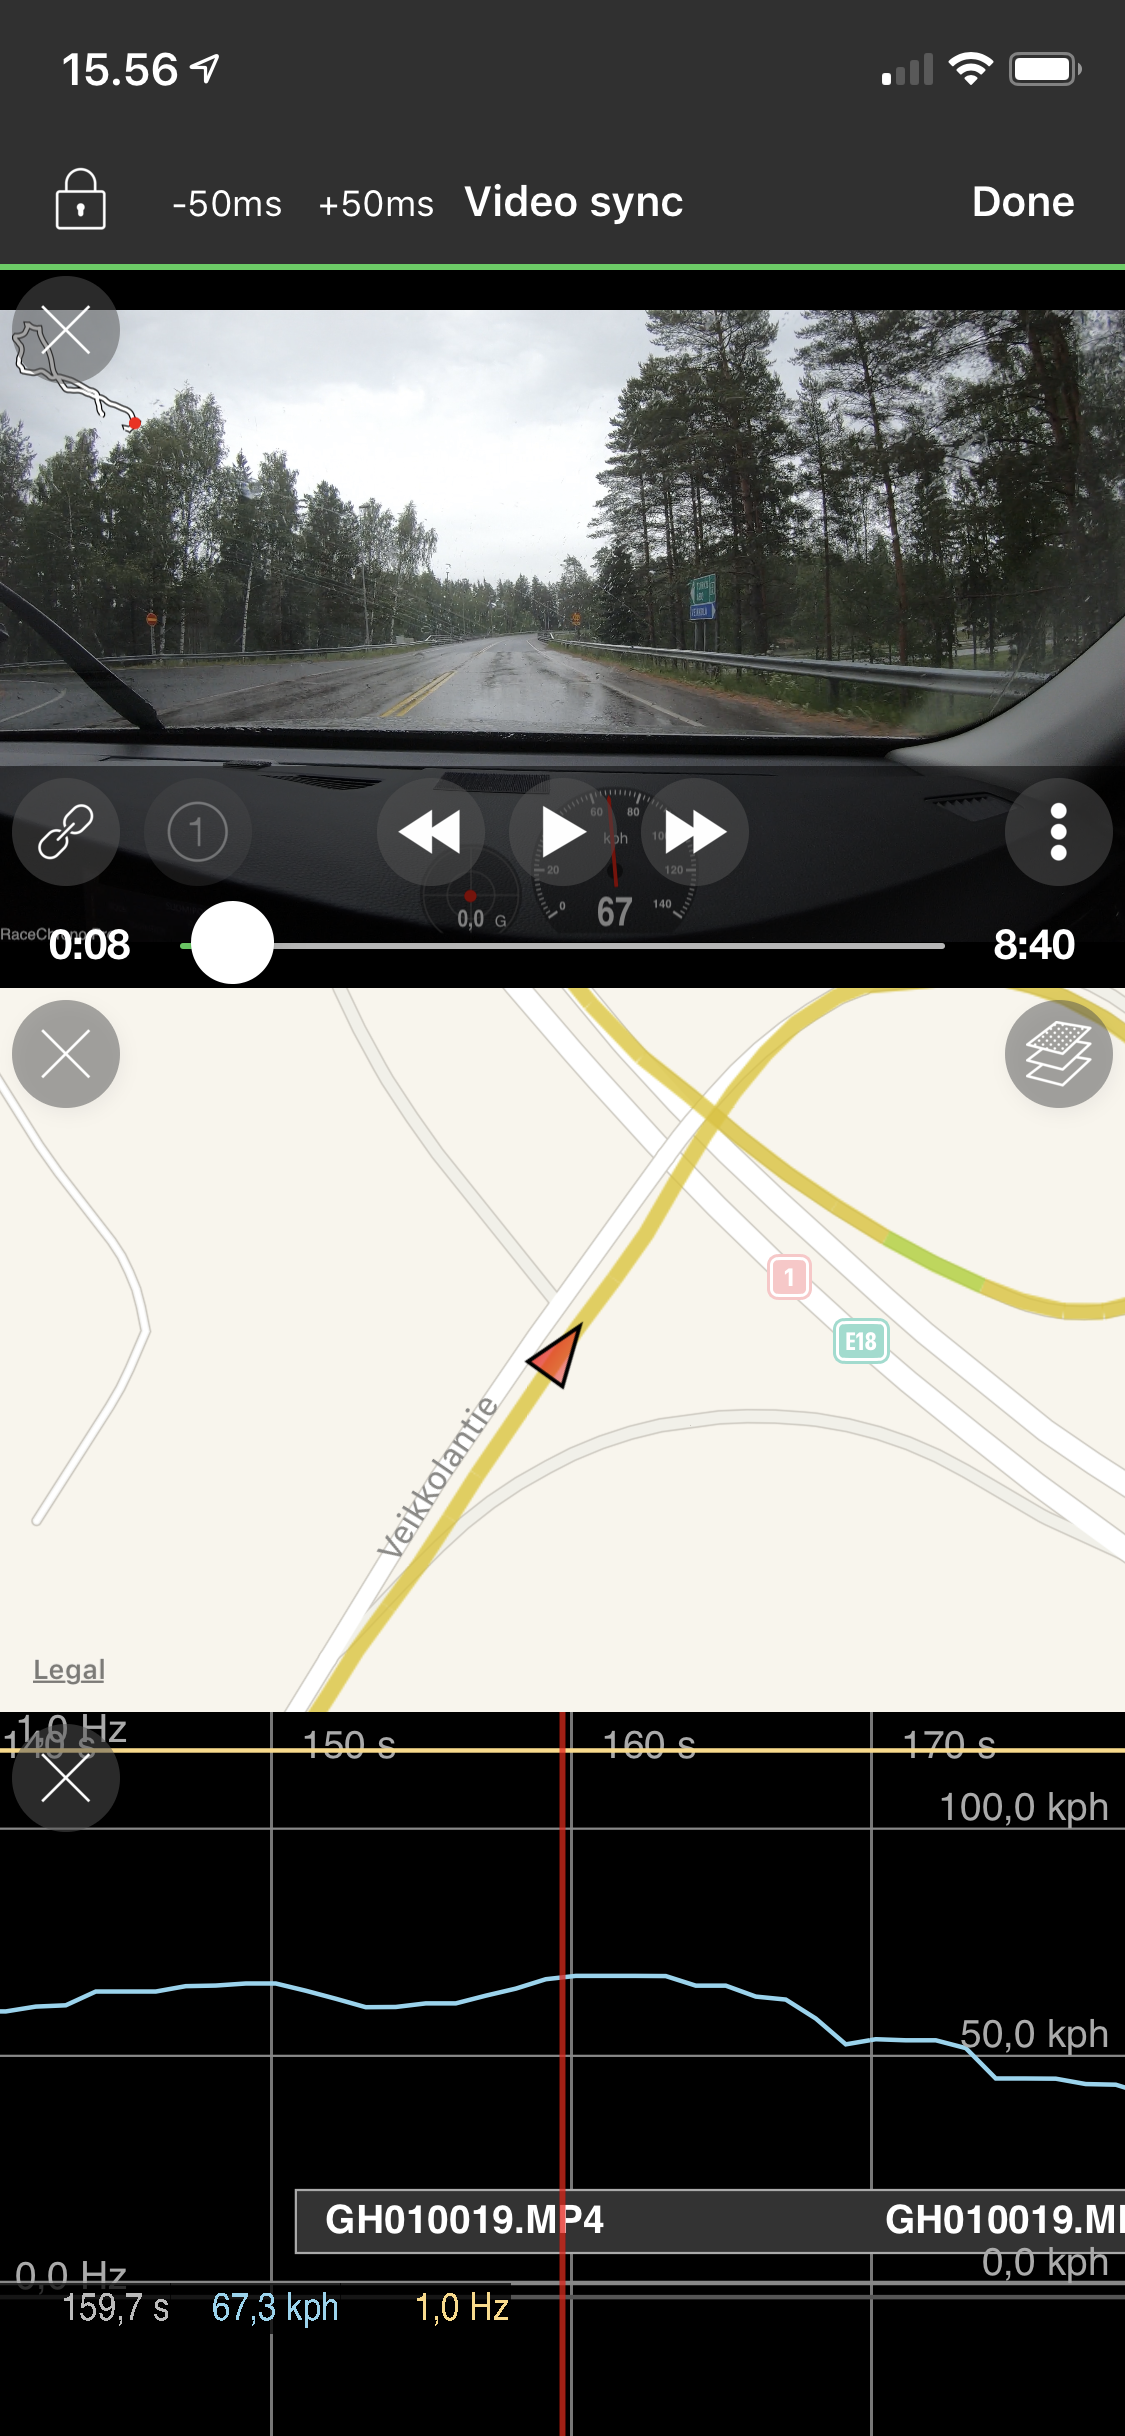
When the synchronisation is unlocked (the file is unlinked), you can move the video position and the graph position independently. Once you press the lock button, the video position and graph position will start moving in unison, meaning the synchronisation is locked (and the video file is then linked).
In general you should use the unlocked mode to find the rough synchronisation point, then lock the synchronisation, and use the -50 ms and +50 ms buttons to fine tune the synchronisation.
Bonus step A: Automatic synchronisation
RaceChrono v6.0 (and newer) has an Automatic video file synchronisation -feature, that can be used for video files recorded with GoPro and Garmin VIRB with the camera’s built-in GPS turned on. When the file is not yet linked, the synchronisation tools will have an extra button with search icon. If you tap this button, RaceChrono will try to synchronise your video file automatically using the embedded GPS data. This will also lock the video synchronisation. Notice that you may need to adjust the synchronisation slightly with the -50 and +50 ms buttons, as this will synchronise Garmin VIRB files only to closest second.
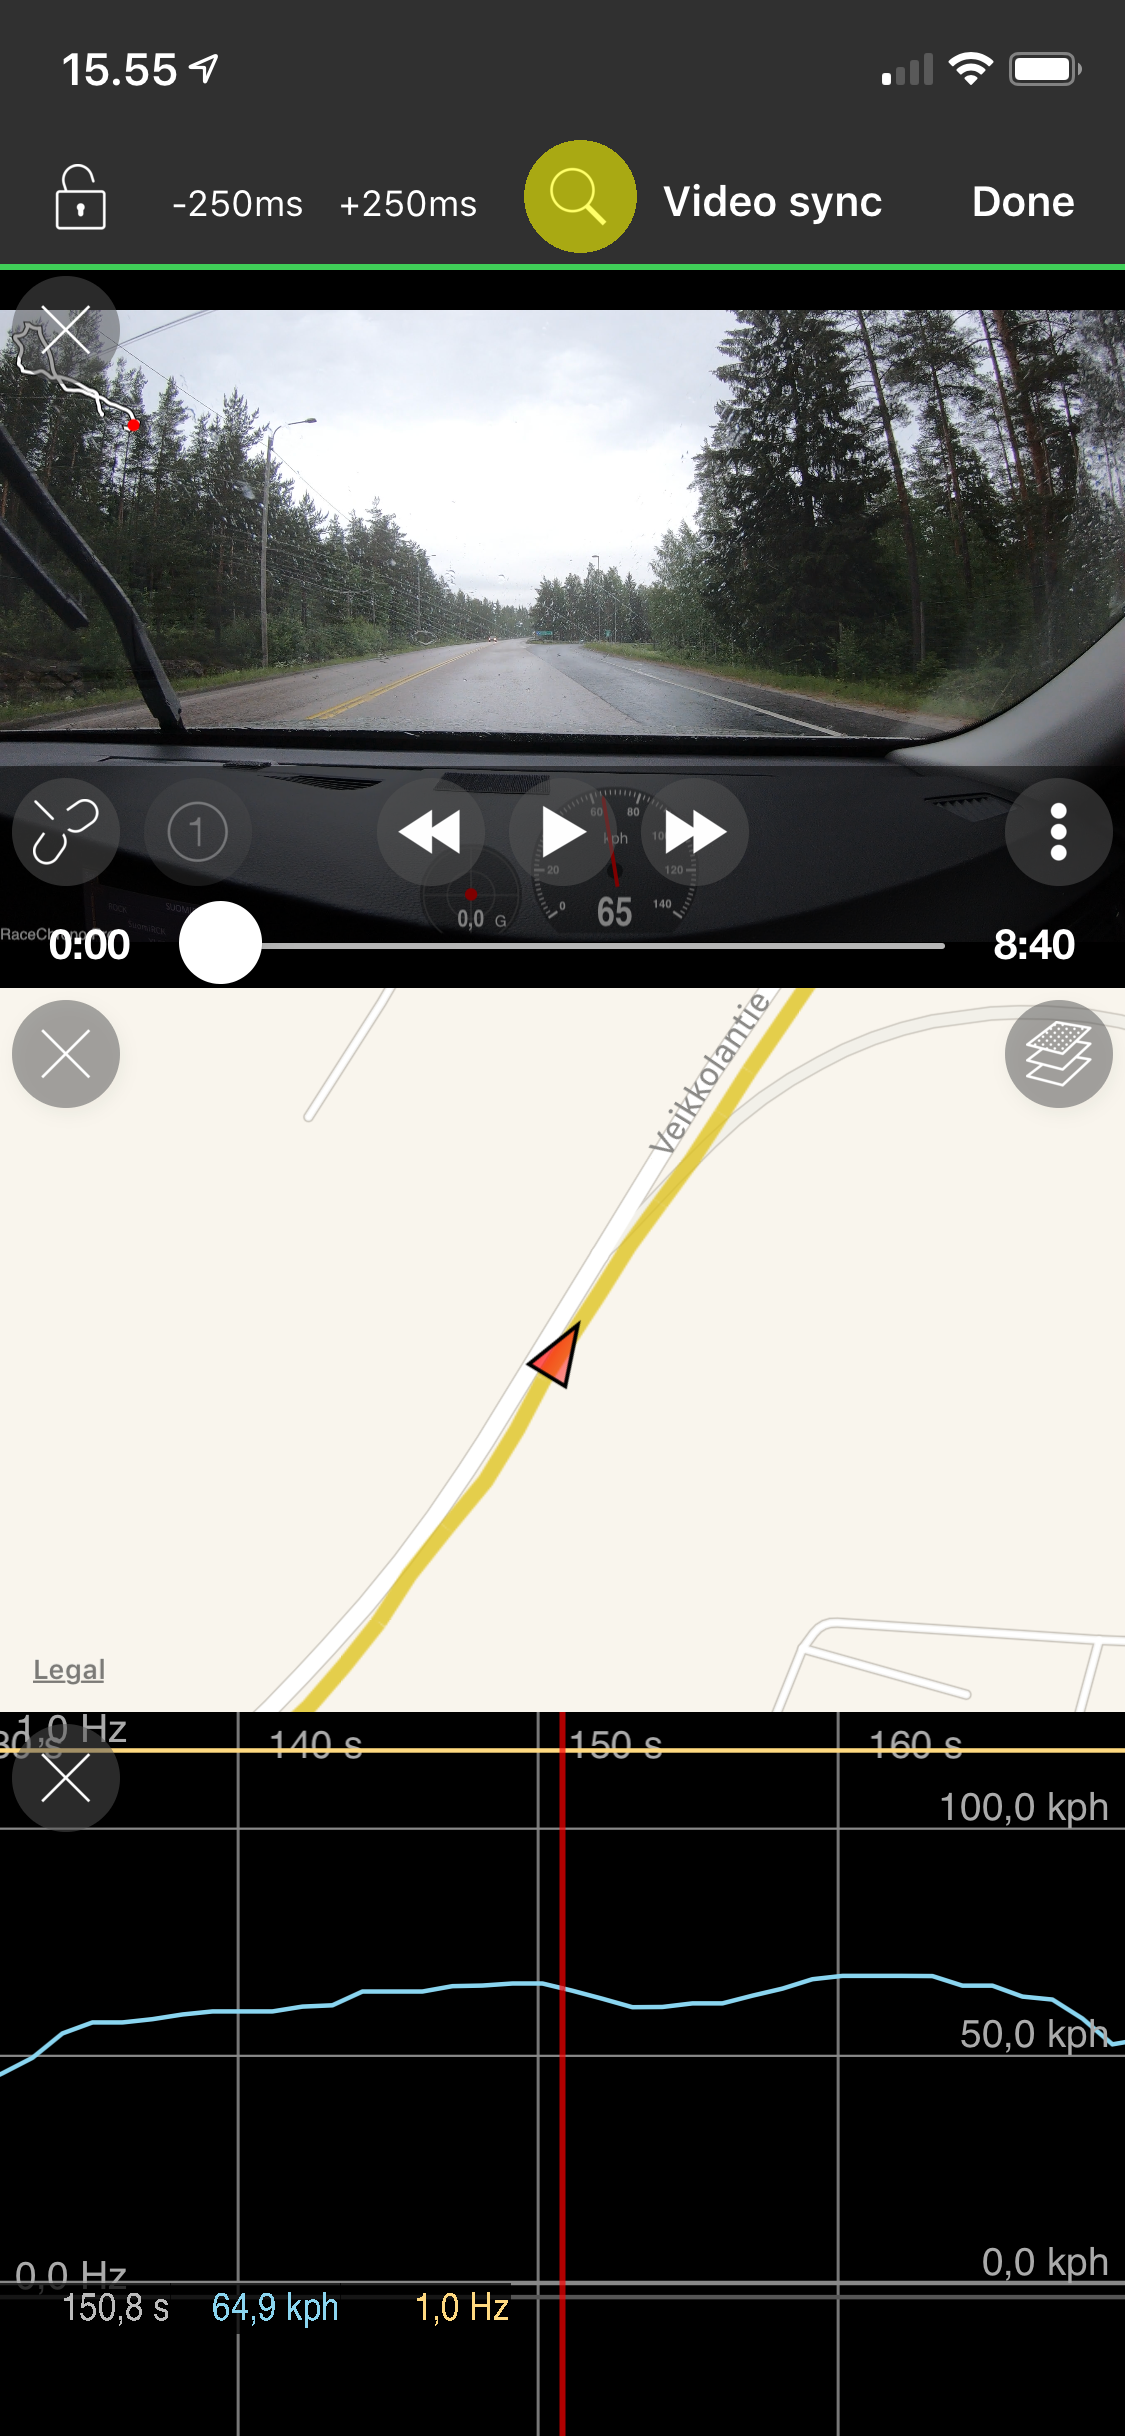
If the button for the Automatic video file synchronisation -feature does not become enabled, there might be couple of reasons behind it:
- There’s no GPS data recorded to the video files. Either camera’s GPS was turned off, or it did not get a proper lock to satellites while recording.
- The timestamps of the GPS data recorded are not in the range of that of the session. Make sure you’re trying to sync the correct video files to the correct session. And if you resumed the session, make sure the correct “Session Start / Session resume” is selected before trying to sync the video files.
Bonus step B: Linking chapter files
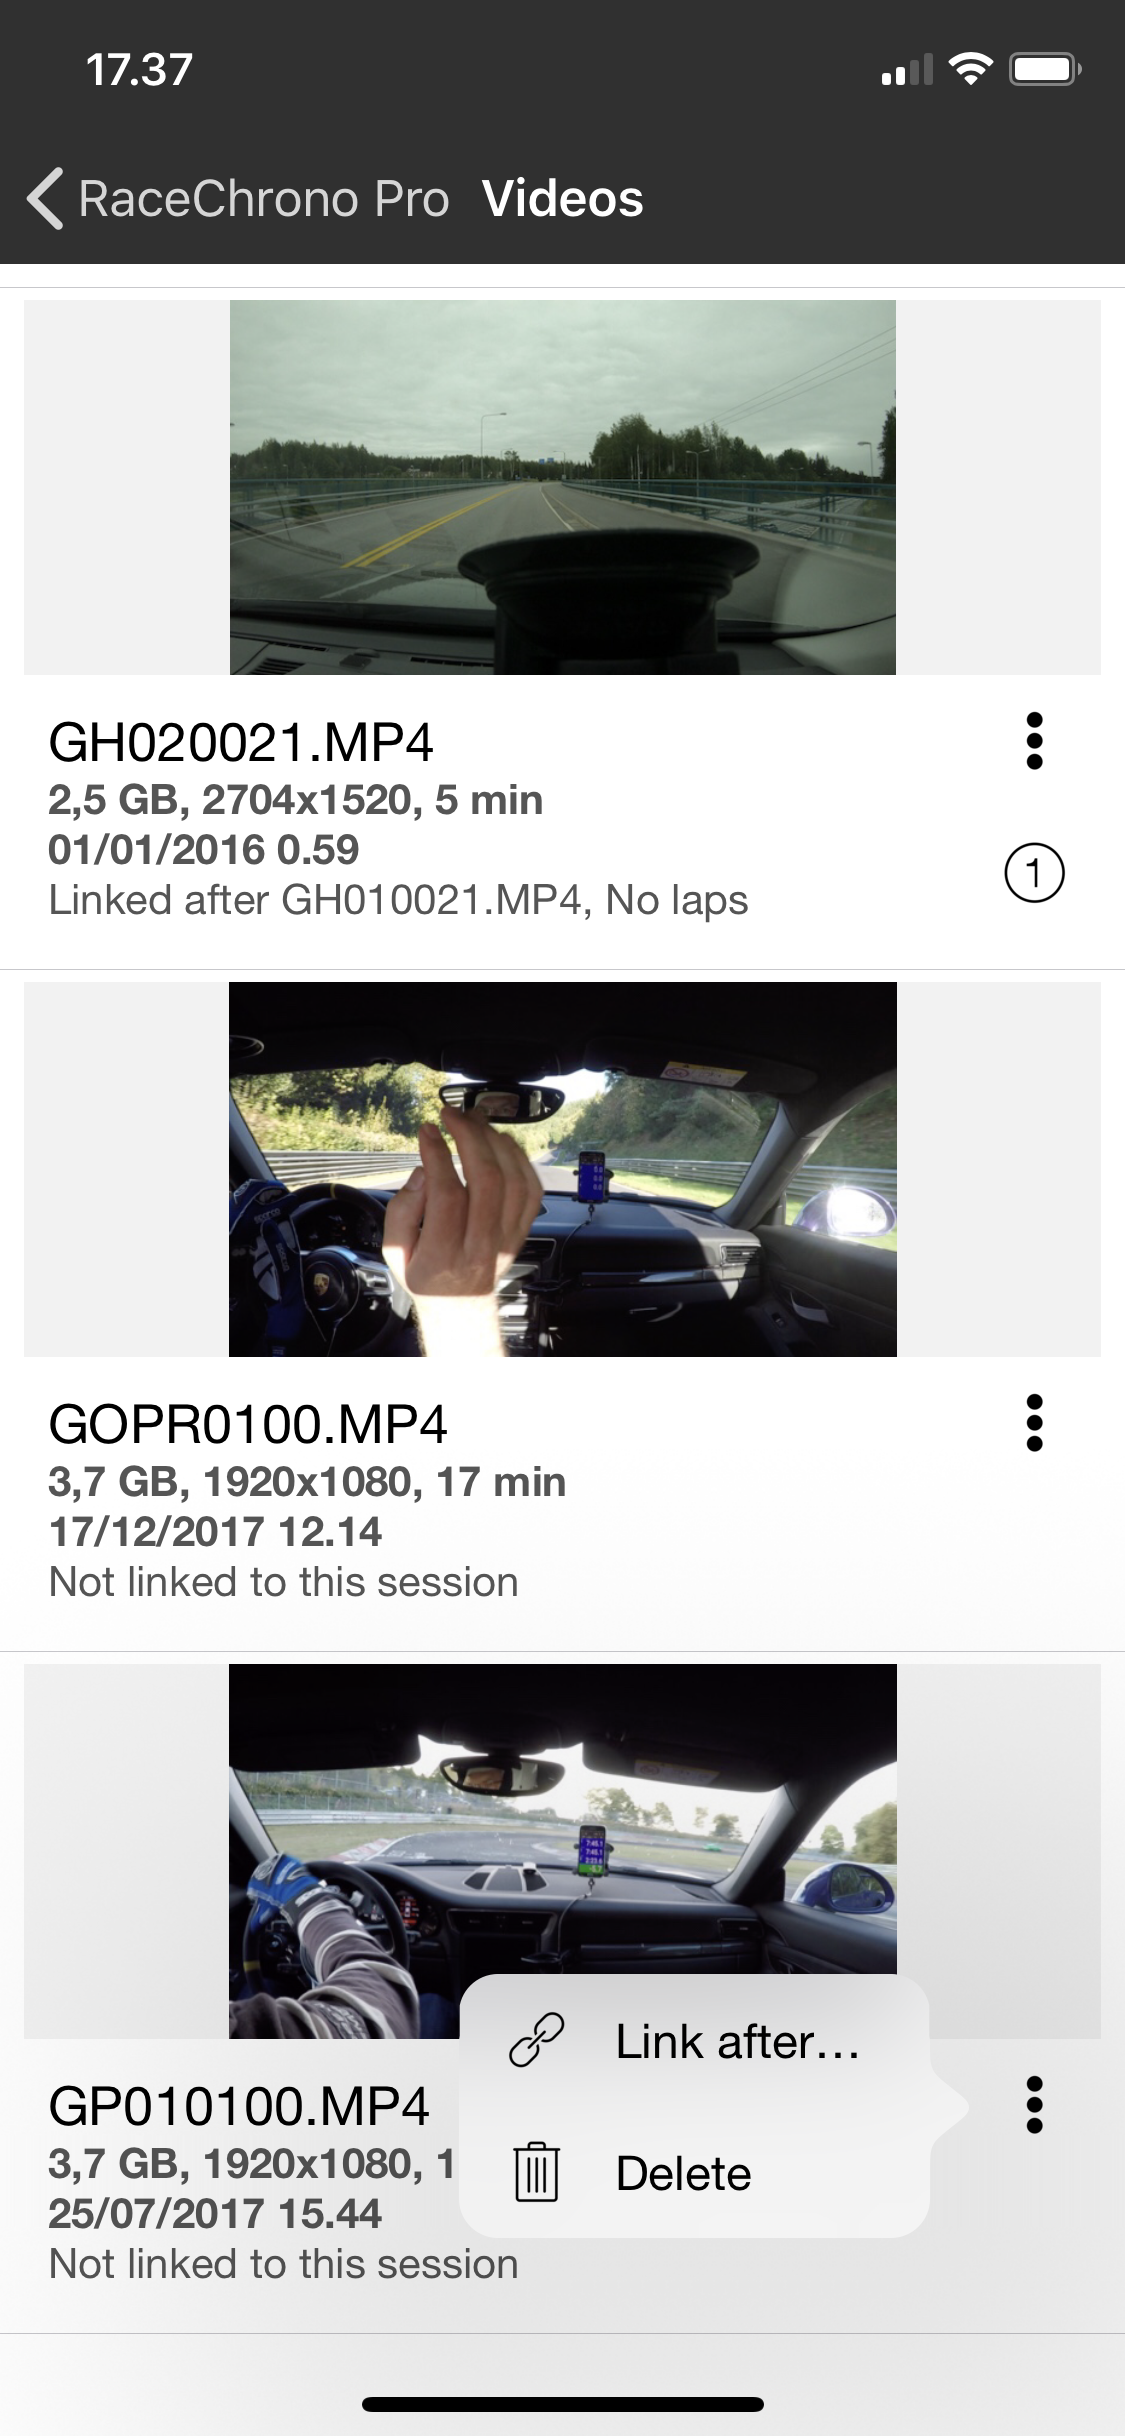
All action cameras split the recordings to multiple files, to limit the file size of an individual file. These files are called chapter files. In RaceChrono you’ll need only to synchronise the first file manually, and rest of them can be synchronised by linking them after the previous file. RaceChrono will look for GoPro chapters, and link them automatically after the first linked file. For chapter files by other cameras you can use the “Link after…” feature, that can be found under the context menus of each unlinked file.
Bonus step C: A video tutorial
The following video tutorial is for older version, v3.20, but the main principles and user interface components are still the same, apart from the video list. The video gives a little more insight on how to do the synchronisation.
And here’s the finished exported video from that tutorial. Notice the only software used in making of this video was RaceChrono Pro!
The video it self is recorded with GoPro3+ black edition with 720p setting. It was supposed to be 24 hours race, so the 720p setting was to make memory cards last longer.